Setting up a new PC is always exciting, but setting up a Copilot+ PC? That’s a whole different experience. After using traditional Windows laptops for years, I recently made the switch to an ASUS Vivobook S 15 Copilot+ PC. And while it looked familiar on the surface, it quickly became clear: this isn’t your average setup.
If you’ve read my post about buying my first Copilot+ PC and going through the initial setup, you already know how much thought I put into choosing the right device. And today, I want to focus on what comes after the first boot – the smart adjustments, essential tools, and personal customizations that transformed this machine into a daily driver that works the way I do. Here’s what we’ll cover:
- Microsoft 365 Sync
- Copilot+PC AI Features
- Power & Productivity Settings
- Desktop Personalization
- Backup & Sync Setup
Let’s start with the foundation – syncing everything through Microsoft 365.
Microsoft 365 Sync
As someone who lives inside the Microsoft ecosystem, this was the first and most natural step. I’ve had a Microsoft 365 subscription for years, and if you plan to use Word, OneNote, Outlook or Excel regularly, especially with Copilot integration – it’s almost essential.
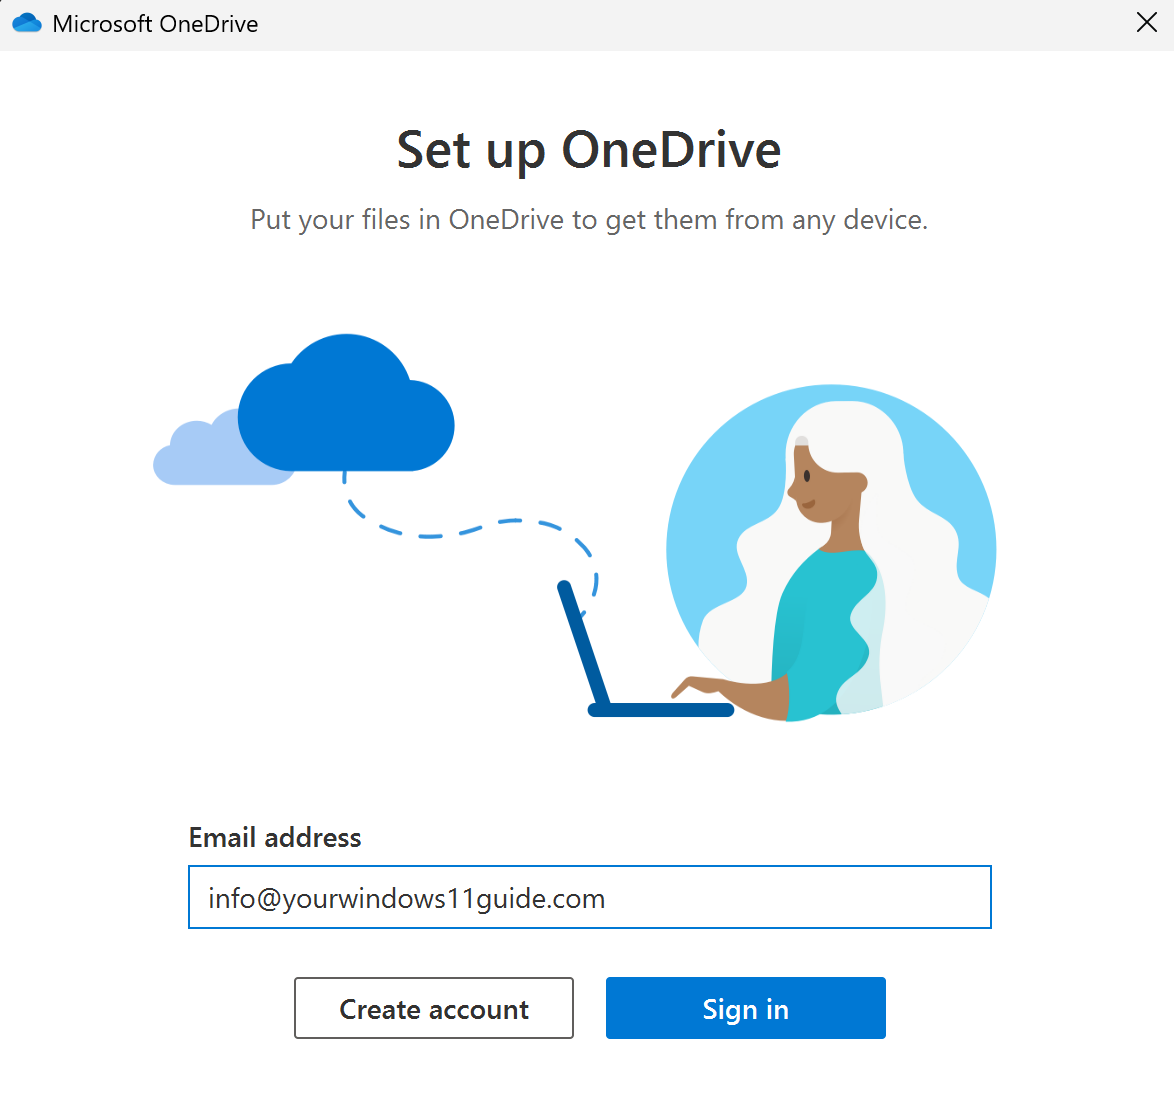
After signing into my Microsoft account, I launched OneDrive, which immediately started syncing all my files. Within minutes, my desktop, Documents folder, and key project files appeared just as they had on my previous device. Microsoft Edge restored all my favorites and extensions, and OneNote opened with my blogging outlines ready to go. It felt like I never left my old setup – only everything was faster.
This syncing process also helps Copilot access relevant files faster and improves suggestions across your apps. And speaking of Copilot – as soon as I was logged in and syncing my files, I opened the Copilot app from the taskbar to ask, “What’s the best way to organize my synced folders?” It gave me a simple overview of how OneDrive handles syncing, plus a reminder to check the folder backup settings – a small but helpful time-saver.
I’ve found that using Copilot during setup gives you more than just AI answers. It gives you shortcuts into parts of the OS that usually take a few clicks to reach.
Copilot+ PC AI Features
One of the biggest reasons to get a Copilot+ PC is the new AI-powered tools. These features are built into the device, powered by the NPU, and designed to make your work smoother.
The Copilot App in Action
One of the first things I noticed was how naturally Copilot fit into the setup process. Instead of hunting through menus or digging into Settings, I could just ask it to handle things for me – and it worked surprisingly well. It felt less like reading a manual and more like having a tech-savvy friend walk me through the basics. Here are a few things I asked Copilot right away:
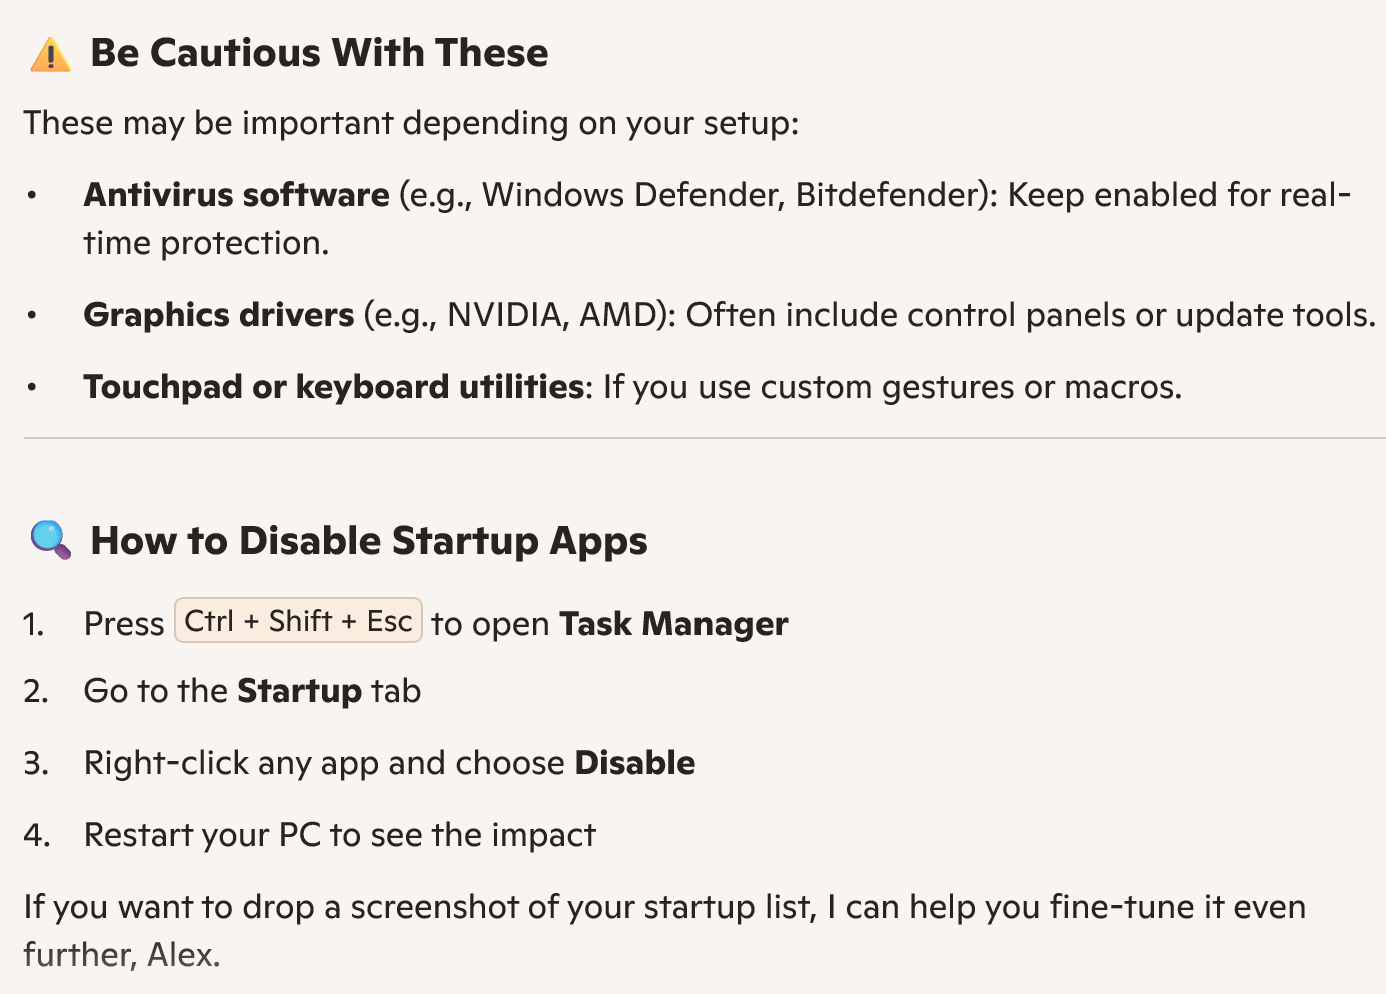
“Which startup apps can I disable safely?” – Copilot pulled up a detailed list, explained what each app does, flagged the ones I should be cautious with. Copilot also showed me exactly how to navigate to the Startup tab in Task Manager to disable the ones I didn’t need.
“Turn on dark mode and adjust display settings.” – in one click, it switched the system to dark mode and suggested brightness/contrast tweaks for the OLED display.
“Change my power plan to best performance.” – instead of digging through Control Panel, Copilot made the switch instantly.
These quick interactions showed me just how useful Copilot can be. It takes the guesswork out of setup, speeds up the process, and makes sure nothing important gets overlooked.
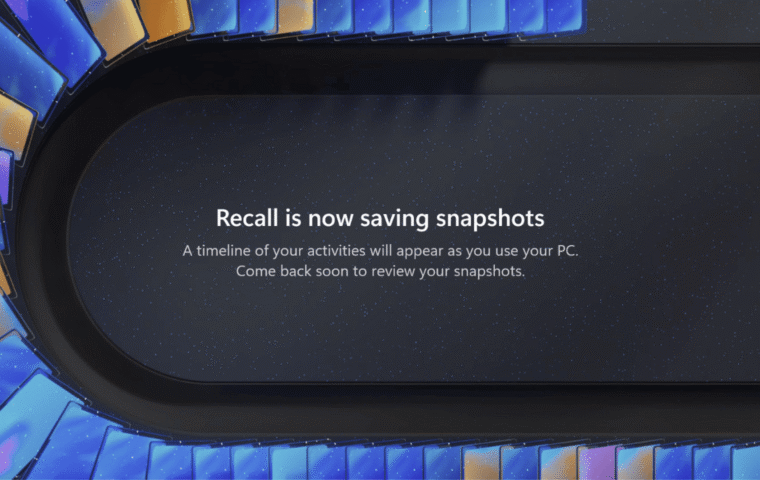
Recall
Recall was offered during my very first login. I turned it on, but I also went into Settings > Privacy & Security > Recall & snapshots to check where snapshots are saved and how exclusions work. That gave me confidence about how data is handled.
Since then, Recall has been a game-changer for searching. Instead of trying to remember filenames, I can visually jump back to a web page I read last night or a document I skimmed earlier in the week. It feels like having a searchable memory built into the PC.
Cocreator in Paint
This one surprised me the most. Cocreator transforms Paint into a truly creative playground. You sketch something rough – even a stick figure – then type a prompt like “modern desk setup illustration.” The AI blends your sketch and your words to generate a polished image in different styles, like watercolor, pixel art, or photorealism.
But here’s the key detail: Cocreator and Image Creator are not the same thing.
- Cocreator is built into Paint on Copilot+ PCs and runs locally using your device’s NPU. It doesn’t require a Microsoft 365 subscription and works for any user profile on the device. It’s fast, responsive, and feels like the AI is sketching alongside you.
- Image Creator, on the other hand, is a cloud-based tool that generates images from text prompts only. It does require a Microsoft 365 subscription, and if you’re on a Family plan, only the primary account holder gets access to the AI credits.
So if you’re testing this on a shared device or using a Family subscription, that distinction matters – Cocreator is free and local, while Image Creator is subscription-based and tied to the main account.
Studio Effects
Studio Effects on Copilot+ PCs are impressively useful – background blur, auto-framing, and eye contact correction instantly elevate the quality of Teams calls and video recordings. Powered by the NPU, these enhancements run smoothly without slowing down the system, even during multitasking. With lighting adjustments and seamless integration, Studio Effects delivers a polished, professional look that feels effortless and natural.
Live Captions
Live Captions on Copilot+ PCs automatically transcribe any audio playing on your device, including videos, podcasts or even live meetings. It makes content instantly accessible without needing subtitles. I’ve used it while watching webinars with poor audio and during late-night editing sessions when I couldn’t have sound on, and it worked flawlessly. Live Captions adds a layer of convenience that genuinely improves how you consume content.
I’ve now published that deep dive – check out Top 5 Copilot+ PC Features That Will Change How You Work to explore each feature in detail.
Power & Productivity Settings
Even though Copilot+ PCs come with optimized performance out of the box, I like to tune things further to match how I actually work. These small adjustments made a noticeable difference in responsiveness, battery life, and overall flow.
- Startup apps: First stop was Task Manager. I disabled unnecessary startup apps – things like update checkers and helper tools I never use. This shaved seconds off boot time and reduced background clutter.
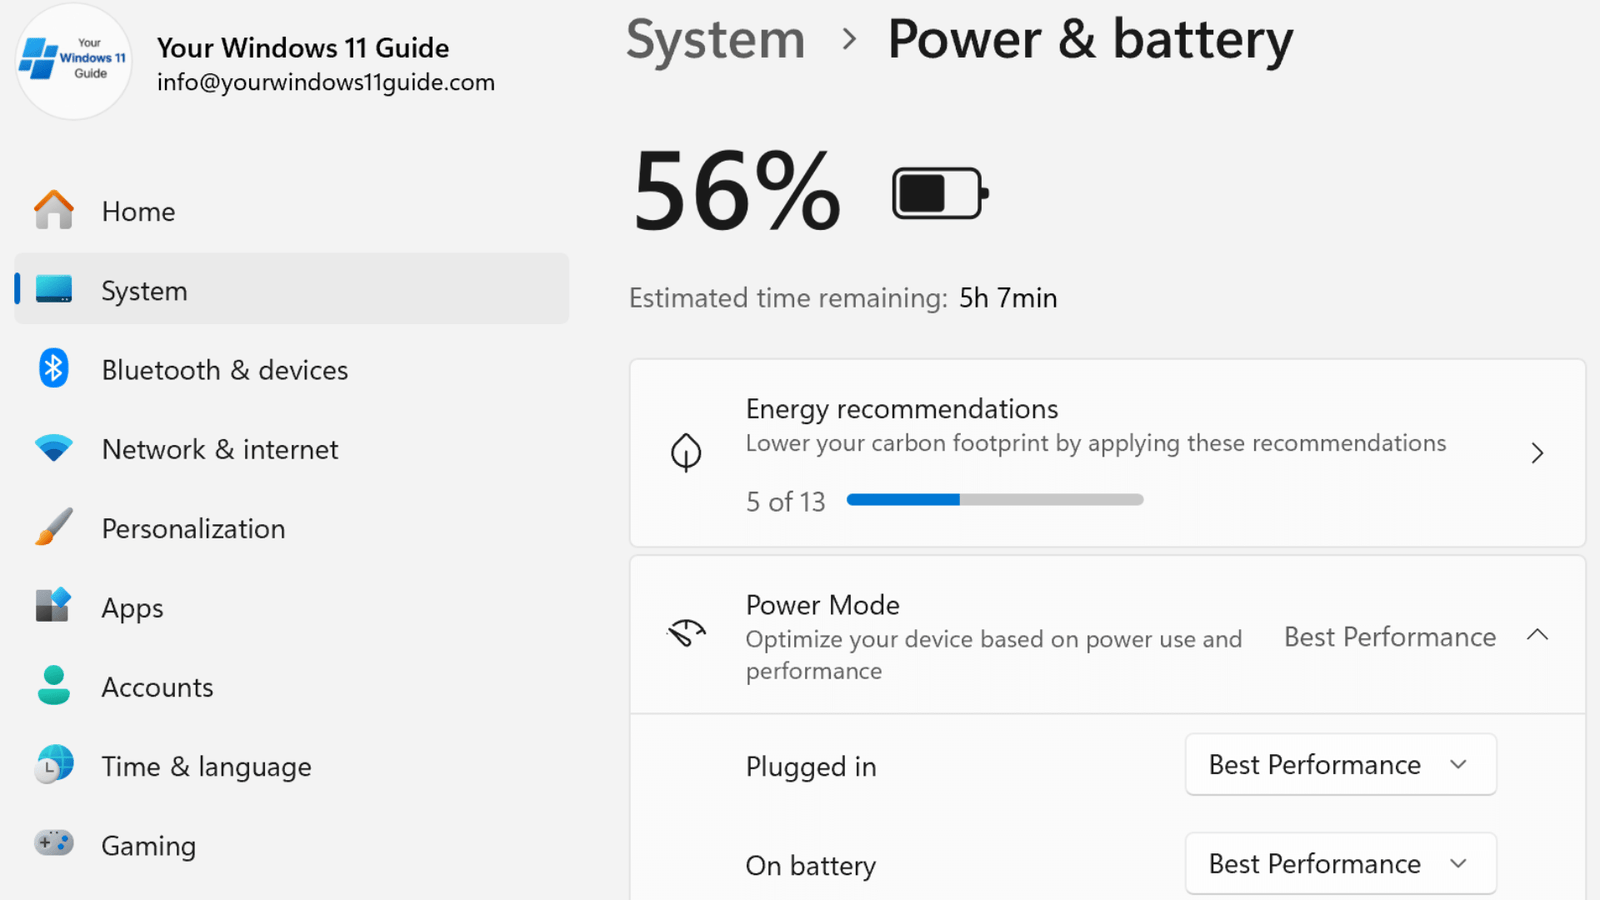
- Power mode: I set the power mode to Best performance when plugged in, and Balanced when on battery. You can do this quickly through Settings > System > Power & Battery.
- Focus Assist & Focus Sessions: I enabled Focus Assist to silence notifications during deep work blocks, and paired it with Focus Sessions in the Clock app. It’s surprisingly motivating to see a timer ticking down while Spotify plays in the background. I use this combo for writing sprints and editing sessions.
- Clipboard History: I turned on Clipboard History under Settings > System > Clipboard. It lets me copy multiple items and paste them later, which is incredibly useful when juggling links, quotes, and draft snippets while writing posts like this one.
- PowerToys: If you haven’t installed PowerToys yet, do it now. FancyZones lets me snap windows into custom layouts – perfect for multitasking across browser tabs, OneNote, and Photoshop. PowerRename is a lifesaver when organizing batches of screenshots or blog assets.
If you’re interested in improving your system even more, check out my guide: Speed Up Windows 11 Startup: Optimize Startup Apps & Improve Performance.
Desktop Personalization
A messy desktop can be a constant distraction. Since I spend hours writing and researching, I wanted a workspace that felt clean but still functional. Here’s what I customized:
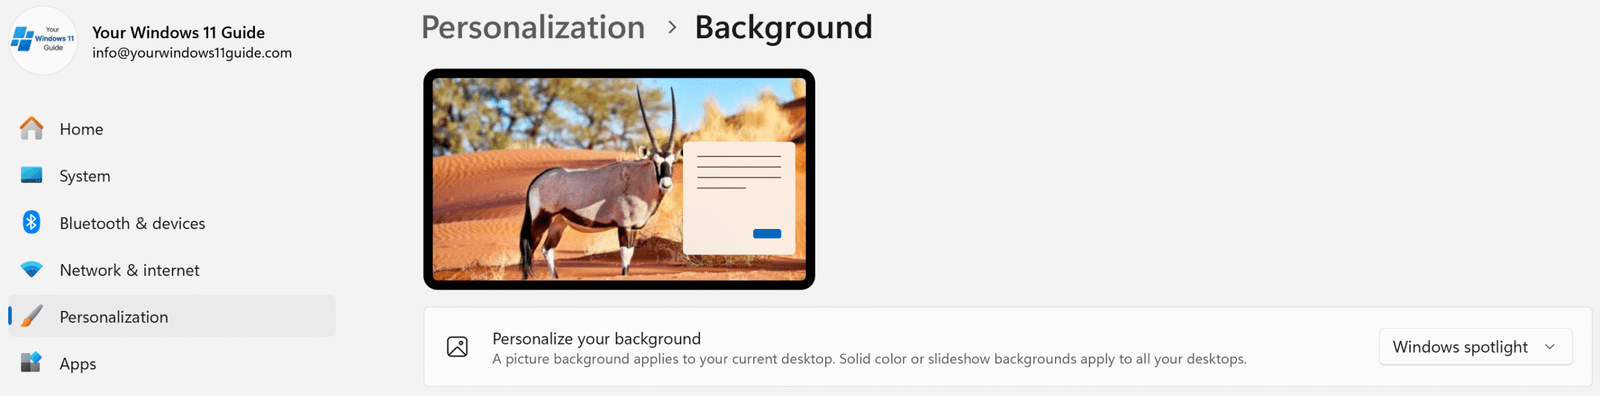
- Windows Spotlight: My wallpaper now changes daily with stunning images – fresh visuals without me needing to search for wallpapers.
- Taskbar & Start menu: Only my top-used apps are pinned now.
- Virtual desktops: I set up three – one for writing, one for research, one for personal use. Switching between them keeps me mentally focused.
- Desktop Icon Layouts: I grouped desktop icons by category and spaced them out using grid alignment. It sounds minor, but having a visual structure helps me find things faster and keeps the desktop from feeling chaotic.
- Dynamic Widgets Panel: I’ve set it up to show what’s useful to me day-to-day. It gives me quick updates and helps me stay organized without needing to open other apps. Just a simple way to keep things in check.
This small amount of personalization made a big difference in how productive my days feel. Interested in diving deeper into desktop setup and beyond? Check out my full post: Customize Your Windows 11 Desktop for Enhanced Productivity.
Backup & Sync Setup
Once my workspace felt dialed in, I wanted to make sure it was safe, synced, and ready to follow me wherever I go. These three steps cover everything from files to settings – and they work together seamlessly.
Step 1: Enable OneDrive Folder Backup + Use Version History
I turned on OneDrive backup for my Desktop, Documents and Pictures folders. That means every file I work on within those folders is automatically saved to the cloud – and instantly accessible from any device I sign into. But here’s the underrated gem: OneDrive Version History. If I ever overwrite or delete something important, I can restore the previous version in seconds. To access version history:
- Right-click the file in File Explorer and select Version history.
- Or go to onedrive.live.com, right-click the file and choose Version history from the menu.
Want to unlock the full potential of OneDrive? Dive into our complete guide: Everything you should know about OneDrive – it’s packed with tips to help you sync smarter and stay organized.
Step 2: Sync Settings with Microsoft Account
Windows 11 lets you sync a surprising amount of personal settings just by signing into your Microsoft account. This includes:
- Passwords (via Credential Manager)
- Language preferences
- Accessibility settings
- File Explorer and notification preferences
- Microsoft Edge data – including bookmarks, history, and saved passwords (when Edge sync is enabled)
To check your sync settings: Go to Settings > Accounts > Windows Backup, then toggle “Remember my preferences” and “Remember my apps”. This makes switching devices feel like picking up where you left off – no setup headaches, no lost preferences.
Not using a Microsoft account yet? Explore the available Microsoft subscriptions – it’s your key to a truly connected Windows experience.
Step 3: Use Windows Backup for Full Setup Sync
Windows Backup is the umbrella tool that ties everything together. It saves your app list, system preferences, and layout – so when you sign into a new device, your setup is restored almost exactly as it was.
To enable it: Search for Windows Backup in the Start menu or go to Settings > Accounts > Windows Backup. Toggle on the folders and preferences you want to sync.
With these three steps, I’ve built a resilient system that’s cloud-powered, version-aware, and ready to follow me to any device. No more starting from scratch.
Wrapping It Up
Setting up a Copilot+ PC is a chance to shape a workspace that actually works for you. After syncing my Microsoft 365 account, I immediately felt the difference: Copilot’s integration with Office apps is seamless, and thanks to the NPU, responses are lightning-fast and feel almost instant. It’s like having a supercharged assistant baked right into the tools I already use.
Then come the AI features – Recall, Studio Effects, Live Captions, all of which add a layer of intelligence that feels genuinely useful. What surprised me most? How naturally it all came together. I didn’t have to force new habits or rethink my workflow – the setup simply fit. Now, whether I’m writing, researching, or jumping into a call, everything feels faster, smarter, and more seamless.
If you’re just getting started, I hope this guide helps you skip the trial-and-error phase and get straight to the good stuff. Want to learn more about what makes Copilot+ PCs different? Check out my post: What is a Copilot+ PC: Everything You Need to Know or compare them side-by-side in: Copilot+ PC vs. Traditional Windows 11 PCs — Should You Upgrade?