Is your Windows 11 computer taking ages to boot up? Or did the issue start recently after installing new applications, connecting external devices, or copying data onto your computer? You’re not alone. A slow startup can be frustrating, especially when you need to get to work quickly. The good news is that you can take control and significantly speed up the process.
Windows 11, while optimized for speed and efficiency, can still experience sluggish boot times due to various factors, such as too many startup programs, outdated drivers, or unnecessary background processes. Keeping Windows updated and restarting your computer regularly can help prevent common issues before they arise.
In this guide, we’ll walk through 11 proven ways to speed up Windows 11 startup, optimize performance, and improve your overall computing experience. Follow these steps to get your PC running at its best!
1. Disable Unnecessary Startup Apps
Too many applications launching at startup can drastically slow down boot times, as they consume system resources in the background. Disabling non-essential startup apps frees up memory and CPU power, allowing Windows 11 to load faster.
Steps to disable startup apps:
- Open the Task Manager, by pressing Ctrl + Shift + Esc.
- Click on the Startup Apps tab.
- Look through the list and identify apps you don’t need running at startup.
- Right-click on unnecessary apps and select Disable.
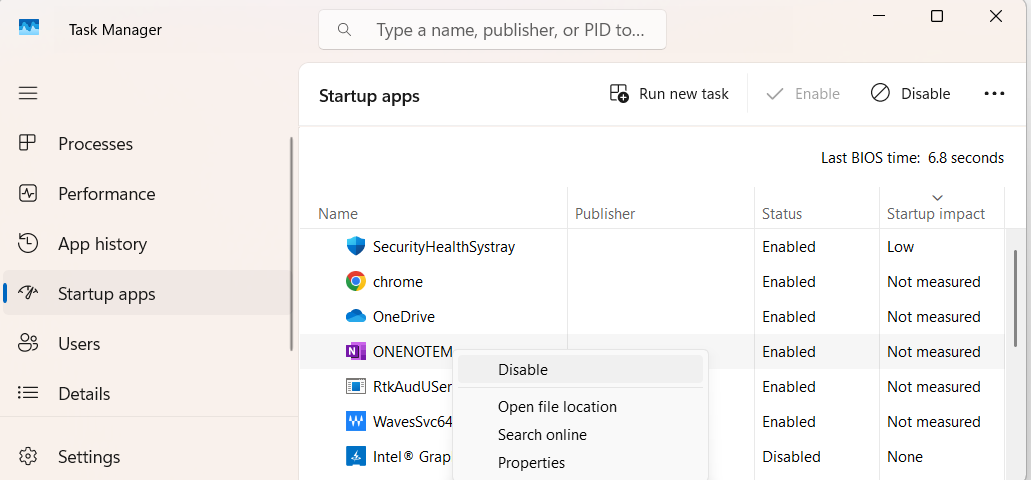
Note: It’s generally best to avoid disabling high-impact apps unless you’re certain they are not essential for your system’s operation. Sort them by Startup impact fo easier navigation.
2. Enable Fast Startup Mode
Fast Startup is a hybrid shutdown feature that helps Windows boot up faster by saving system information to a file instead of performing a full reboot. When enabled, your computer resumes operations more quickly after shutting down.
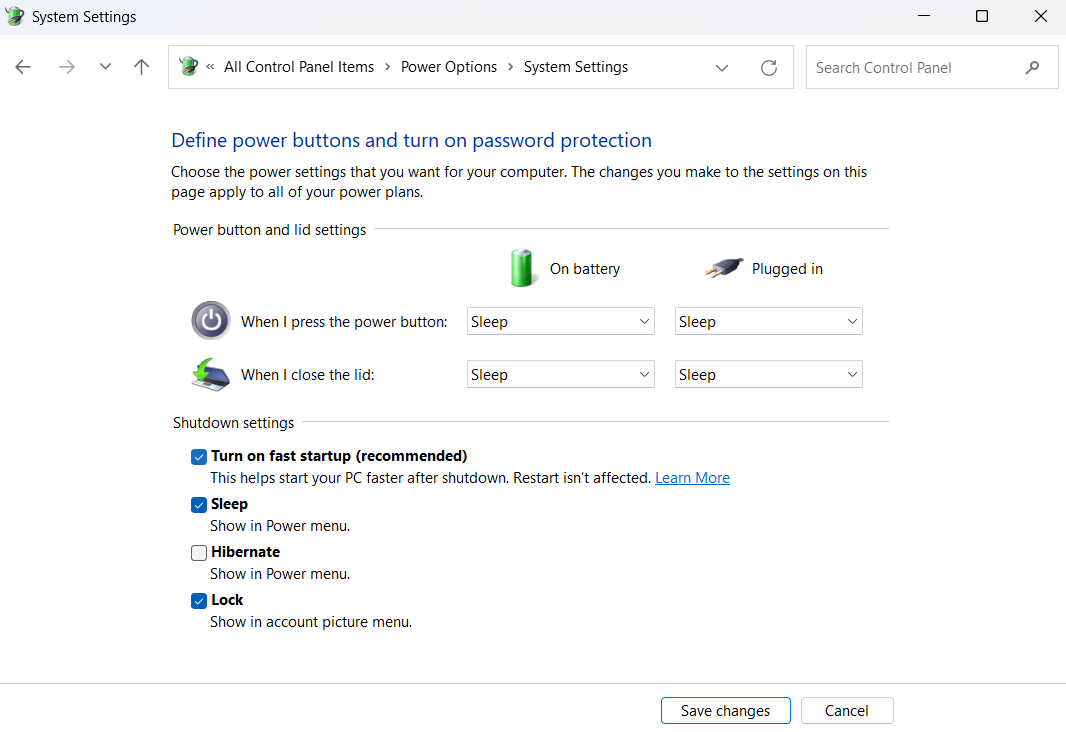
Steps to enable Fast Startup:
- Go to Power Options from Control Panel.
- Click Choose what the power buttons do on the left panel.
- Click Change settings that are currently unavailable.
- Scroll down to Shutdown settings and check the box for Turn on fast startup.
- Click Save changes.
3. Keep Drivers Up to Date
Outdated drivers can cause compatibility issues and slow down your system. Keeping your drivers up to date ensures that your hardware functions optimally, leading to improved performance and faster startup times.
Steps to update drivers:
- Press Win + X (or right click on Start Button) and select Device Manager.
- Expand categories like Display adapters, Network adapters, and Storage controllers.
- Look for any devices with a yellow exclamation mark or other warning icons, which indicate that the driver may need an update.
- Right-click a device and select Update driver.
- Follow the on-screen instructions.
Alternatively, check Settings > Windows Update > Advanced options > Optional updates for new drivers.
Note: If you encounter any issues with updating drivers, you can also uninstall the driver and reinstall it from the manufacturer’s website:
- Right-click on the device in Device Manager and select Uninstall Device.
- Visit the manufacturer’s website and download the latest driver for your device.
- Install the downloaded driver by following the on-screen instructions.
This step ensures that your hardware components communicate efficiently with your operating system, reducing delays during startup.
4. Uninstall Unnecessary Programs
Unused programs take up valuable disk space and resources, slowing down your system. By uninstalling unused programs improves speed, reduces resource consumption, and enhances overall system performance.
Steps to uninstall unused apps:
- Press Win + X (or right click on Start Button) and select Installed Apps.
- Review the list of installed programs.
Click the three-dot menu next to the app and select Uninstall.
Note: If you’re unsure about a program, Google it before uninstalling.
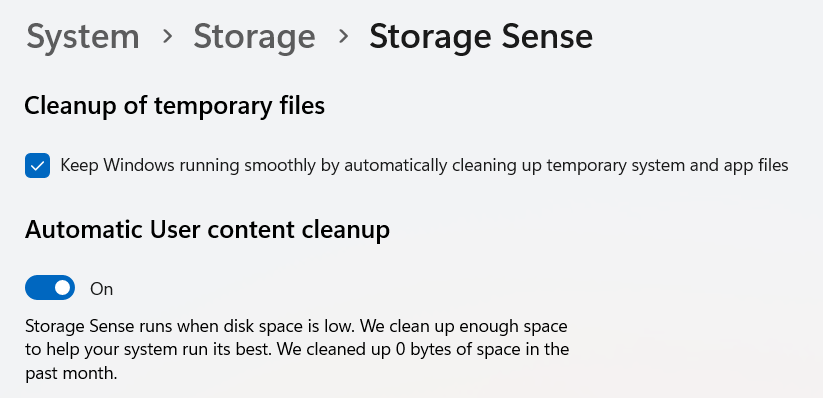
5. Clean Up Your Disk and Enable Storage Sense
Over time, your hard drive can accumulate temporary files, caches, and other unnecessary data that slow down your system. Freeing up space improves system efficiency and prevents performance degradation.
Steps to clean up disk space:
- Press Win+S and type Disk Cleanup.
- Select the drive you want to clean and click OK.
- Check the boxes for the files you want to delete and click OK.

Tip: You can also enable and customize the Storage Sense to automatically remove temporary files, Storage Sense can be enabled and modified by going to Settings > System > Storage.
Note: If your C drive is full, it will not only slow down boot time and general performance, but many apps won’t run. Consider transferring files to cloud storage if you have lots of files saved locally. Check out our post on Everything you should know about OneDrive for more information.
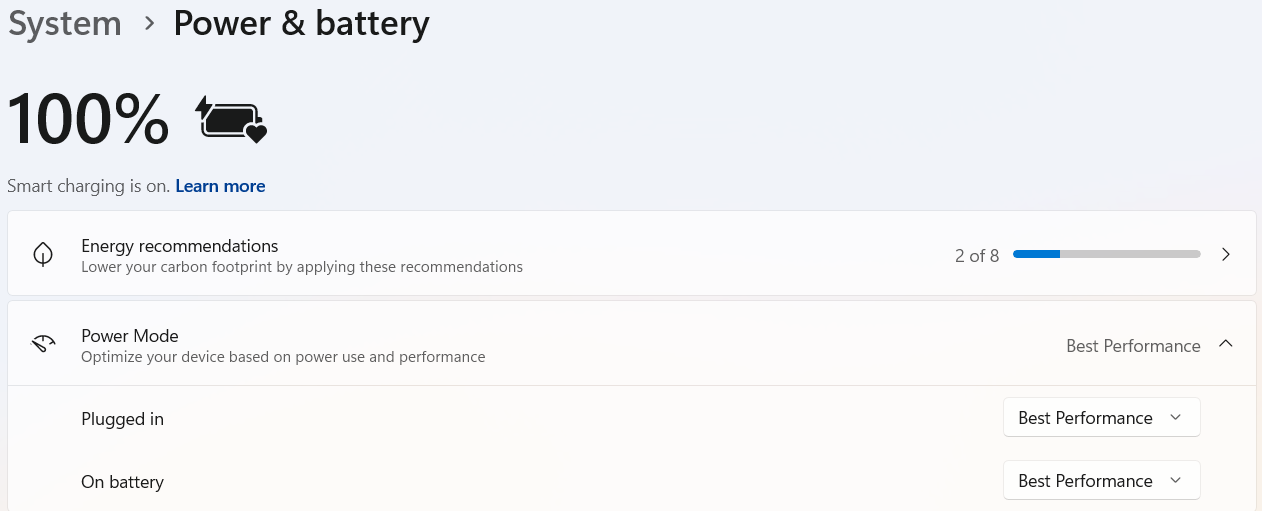
6. Configure Power Mode
Windows power settings affect performance. Higher efficiency modes prioritize battery life over speed. Setting the power mode to Best Performance ensures that Windows operates at full speed.
Steps to adjust Power Mode:
- Open Settings > System > Power & Battery.
- Expand the Power Mode settings, select Best Performance.
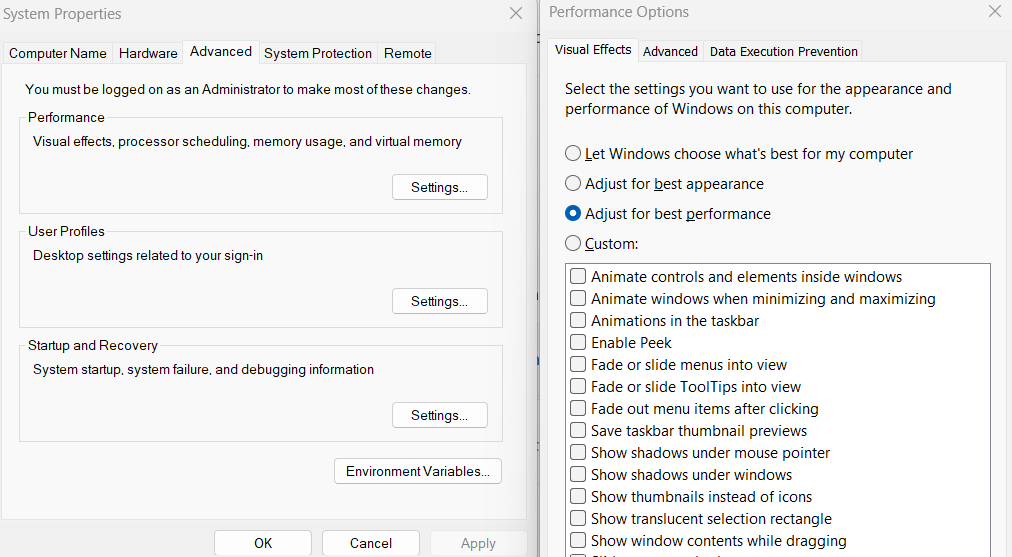
7. Optimize Windows Performance Settings (aka. Adjust Visual Effects)
Windows 11 offers various visual effects that can enhance the user experience but may also slow down your system, especially on older hardware. Disabling unnecessary animations speeds up system response time.
Steps to adjust visual effects:
- Open Settings > System > About.
- Click Advanced system settings.
- Under Performance, click Settings.
- Select Adjust for best performance or manually disable unwanted effects.
8. Disable Game Mode
Game Mode prioritizes resources for gaming, but if you don’t play games, it can negatively impact performance. Disabling Game Mode can free up resources for other tasks.
Steps to disable Game Mode:
- Go to Settings > Gaming > Game Mode.
- Toggle Off Game Mode.

9. Use Efficiency Mode for Applications
Some apps consume excessive CPU even when not in use. Task Manager allows you to put applications in Efficiency Mode to reduce their resource usage. This can help improve system performance, especially during startup.
- Press Win + X (or right click on Start Button) and select Device Manager.
- Go to the Processes tab.
- Right-click on the application and select Efficiency Mode.
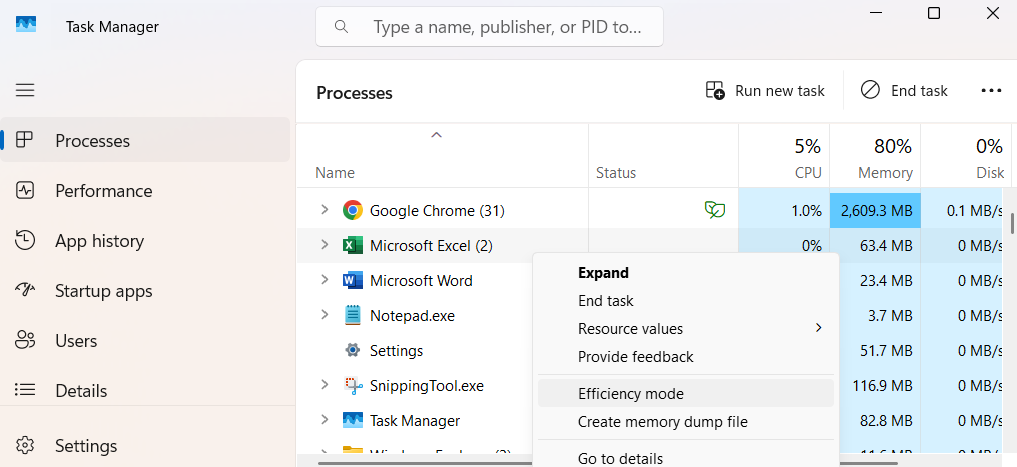
Note: Not all applications can be modified to use Efficiency Mode. System-critical processes and certain background services are exempt from Efficiency Mode to ensure the stability and functionality of your operating system. If you can’t enable Efficiency Mode for a particular app, it’s likely because it’s essential for your system’s operation.
10. Scan for Malware & Performance Issues
Malware and corrupted files can significantly slow down your system. Regular scans help identify and eliminate threats, ensuring that your system operates efficiently and starts up quickly.
Steps to scan for threats:
- Open Windows Security > Virus & threat protection.
- Click Quick Scan (or perform a Full Scan by going to Scan Option).
11. Restart Your System Regularly
Regularly restarting your system is a simple yet highly effective way to maintain optimal performance. As someone who often relies on this practice, I can vouch for its importance. When you restart your computer, it clears temporary files, refreshes the system memory, and closes background processes that might be consuming resources. This can help resolve minor software glitches and improve overall system stability.
IT technicians frequently use system restarts as one of the initial troubleshooting steps because it can fix a wide range of issues quickly and efficiently. Additionally, restarting your system ensures that updates and changes take effect properly, which is crucial for keeping your Windows 11 system secure and efficient.
Conclusion
By following these 11 steps, you can optimize your Windows 11 startup and enhance overall performance. From managing startup apps to updating drivers and enabling Fast Startup, each step contributes to a smoother and faster boot-up experience.
Additionally, consider exploring new Microsoft 365 tools like OneNote, Planner, To-Do, and Power Automate to stay productive and organized. For more tips and troubleshooting guides, check out our internal posts:
- Troubleshooting Peripheral Issues
- Troubleshooting Common Windows 11 Problems
- Customizing Windows 11 Desktop for Productivity
- Discovering the Newest Microsoft 365 Tools
By implementing these strategies, you can enjoy a faster, more efficient Windows 11 experience, getting you from power-on to productivity in no time.