Passkeys in Windows 11 are a modern replacement for passwords. Instead of proving who you are by typing a password, your device confirms your identity using one of the Windows Hello options, such as facial recognition, a fingerprint, or a device PIN. From a user’s point of view, there’s no password to type and no verification code to wait for.
Windows 11 stores each passkey on the device where you create it and unlocks it locally through Windows Hello. The passkey belongs to the account you’re signing into, but access is approved on your specific PC through Windows Hello rather than by sending credentials over the internet.
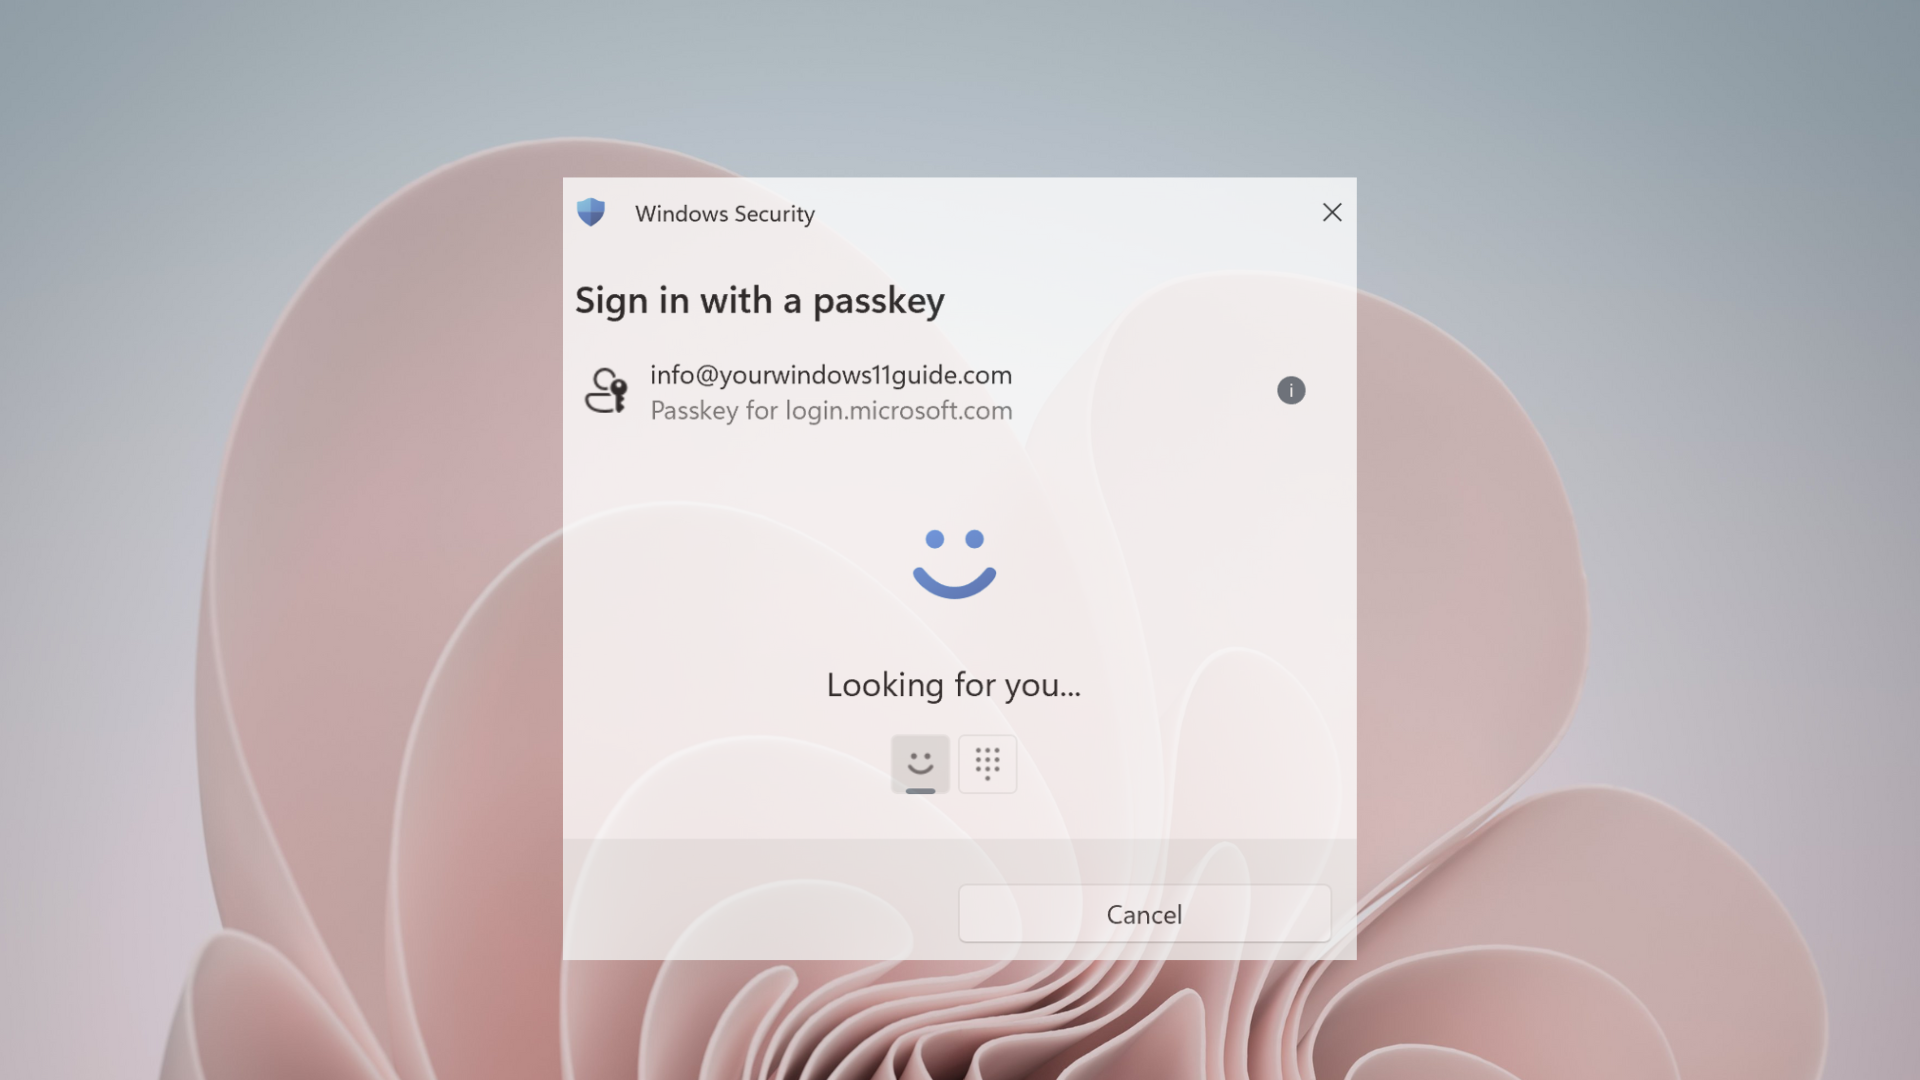
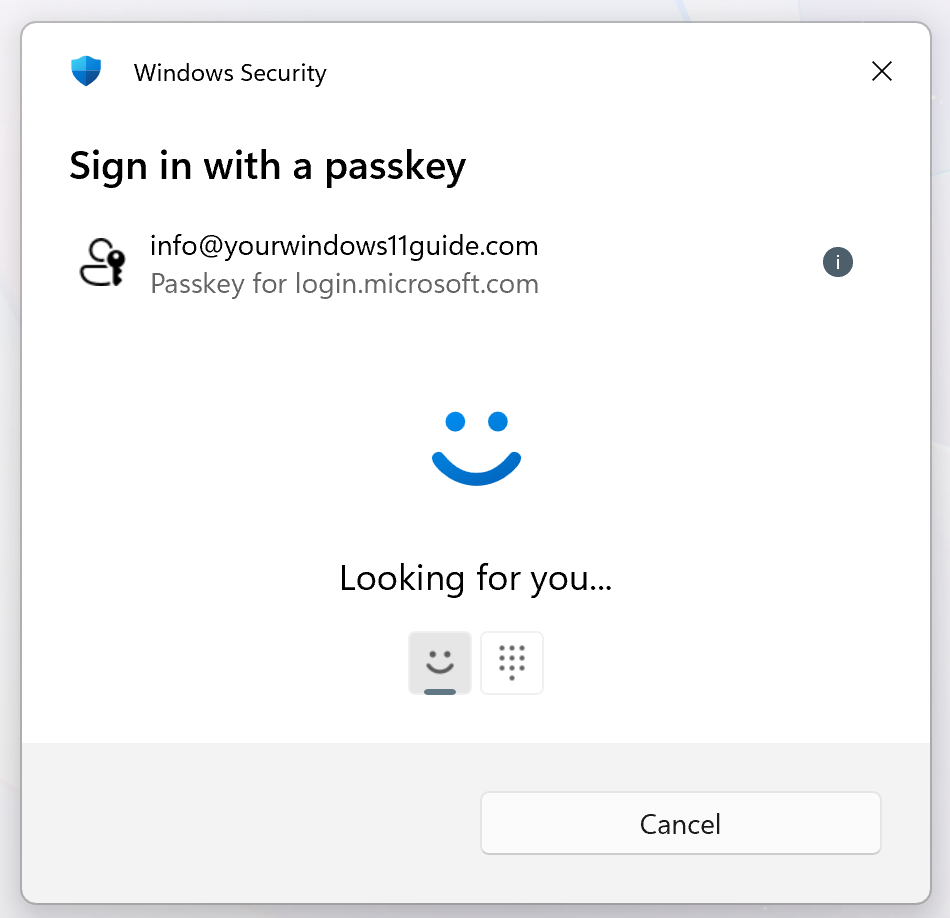
I first encountered passkeys when I was prompted to set one up while signing into my Microsoft account on my Copilot+ PC. Windows suggested creating a passkey and using Windows Hello. I confirmed it using facial recognition and continued signing in as usual. There was no setup wizard and no extra configuration. The next time I signed in, the password field was gone. Windows simply asked me to look at the camera, confirmed my identity, and signed me in.
That moment made two things clear: using a passkey was noticeably easier than typing a password, and at the same time, it raised a simple question – what exactly had I just created, and where does it actually live? The combination of simplicity and initial confusion is common with passkeys, which is why a clear explanation matters.
In this post, I’ll walk you through what passkeys can be used for, how to manage or remove them in Windows 11, what issues you might run into, and why I’ve chosen to keep using them.
What Passkeys Can Be Used For in Windows 11
Passkeys can be used to sign in to accounts and services that support passwordless authentication, and that list is gradually expanding. In practice, this means replacing a password with a local confirmation through Windows Hello on your PC.
At the moment, I’m using a passkey with my Microsoft account, which is how I was introduced to the feature in the first place. I still have only one passkey set up on my device, and that’s intentional. Passkeys don’t need to be enabled everywhere at once. Starting with a single account makes it easier to understand how they behave, how they’re managed in Windows.
Beyond Microsoft, passkeys are already supported by several well-known services, including Google accounts, Apple IDs, and popular platforms such as GitHub and PayPal. These tend to be accounts where security matters and where you sign in frequently.
It’s also worth noting that passkey support is still rolling out. Many websites don’t offer it yet, and when a service doesn’t support passkeys, you simply continue using a traditional password.
Managing or Removing a Passkey in Windows 11
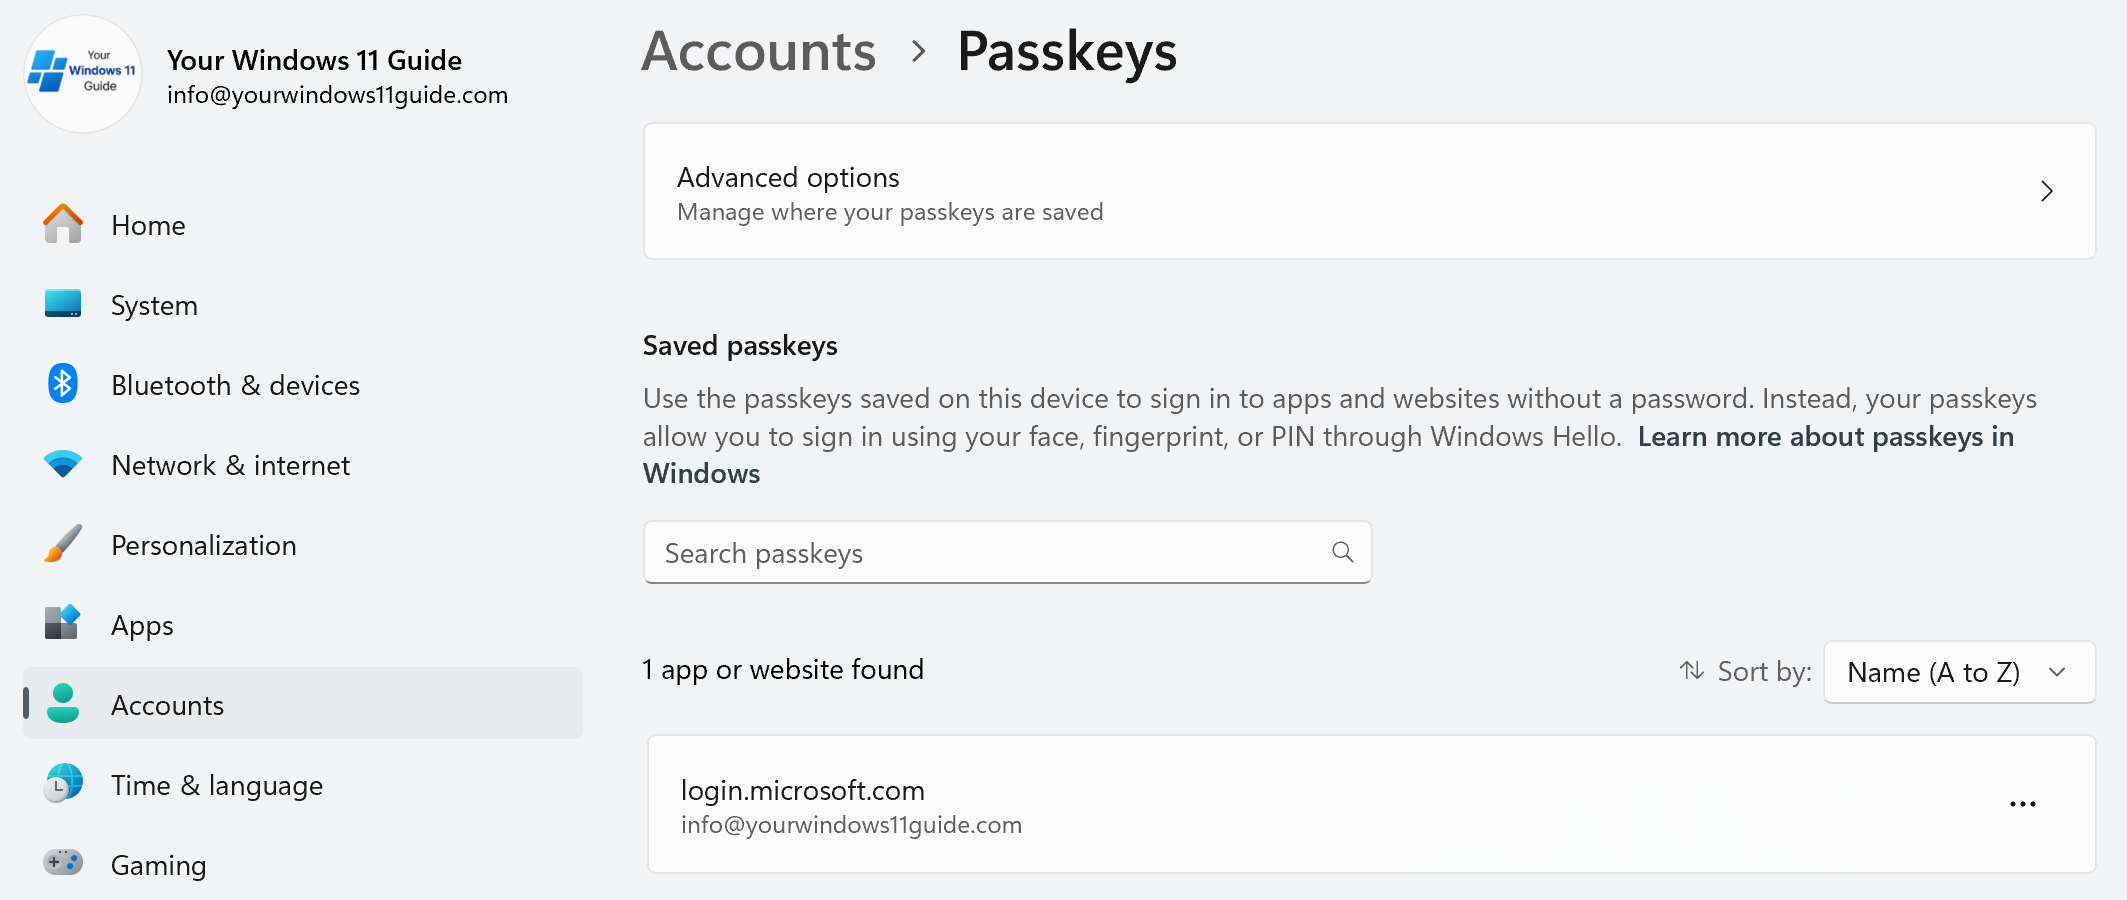
On Windows 11, passkeys are managed directly from Windows Settings. Windows provides a dedicated place where you can view and remove passkeys stored on your device.
To manage passkeys, open Settings > Accounts > Passkeys. From there, Windows shows the passkeys stored on that specific PC, and you can remove any of them if needed. This makes it clear which passkeys exist on the device and avoids having to search through multiple websites to figure out where they’re stored.
Some services may still show passkey information in their own account or security pages, but those pages mainly reflect that a passkey exists. The actual passkey stored on your Windows 11 device is controlled from Windows Settings.
Because Windows passkeys rely on Windows Hello, changes to Windows Hello can affect how passkeys work. If facial recognition, PIN, or other Windows Hello options are reset or reconfigured, the passkey stored on that device may stop working. When that happens, signing in with your password and creating a new passkey restores access.
This is also why understanding Windows Hello is important. Passkeys don’t replace Windows Hello – they build on top of it. I’ve covered how Windows Hello works in detail in my Windows Hello in Windows 11 post, and that background makes managing passkeys much easier and less confusing.
Common Issues You Might Run Into
One important characteristic of passkeys on Windows is that they are device-bound. A passkey created on one PC is not automatically available on another. If you sign in on a new device and don’t see your passkey, nothing is broken. Simply sign in with your password once and create a new passkey on that device.
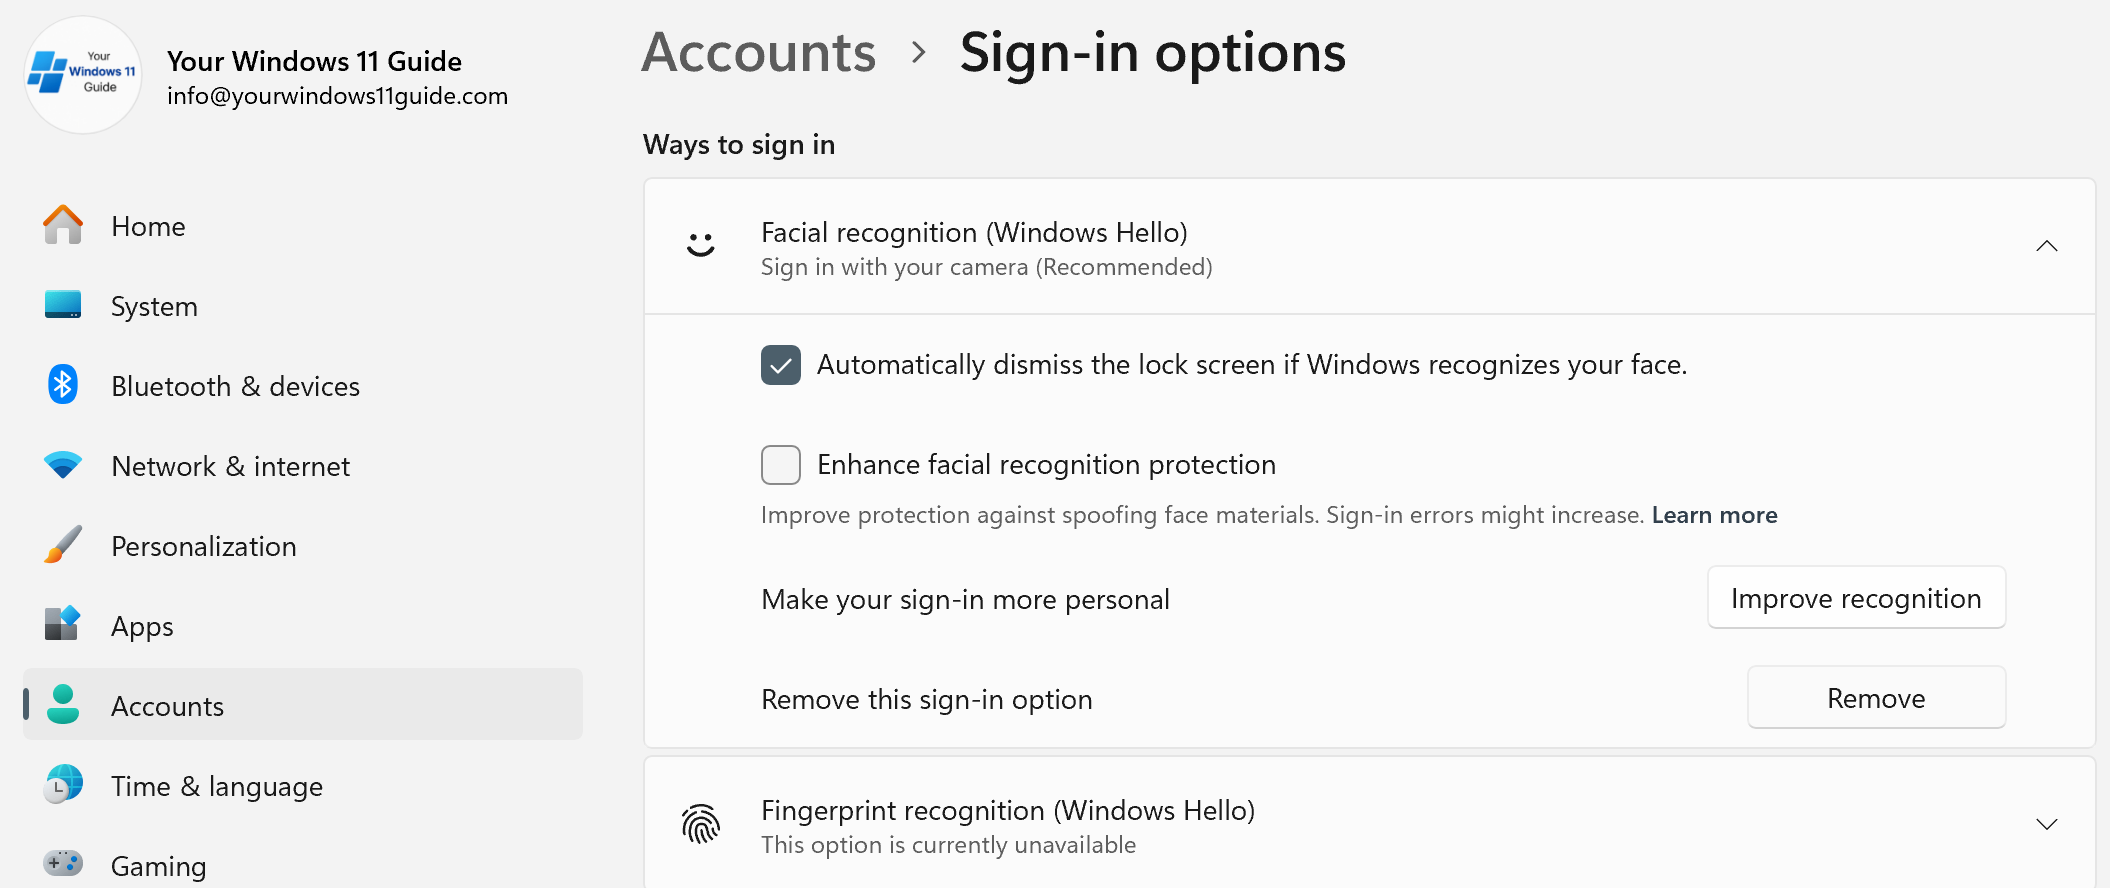
Another issue can occur when Windows Hello isn’t working properly. Because passkeys rely on Windows Hello for confirmation, problems with facial recognition or PIN setup can prevent passkey sign-in. If you’re using facial recognition for passkeys, the simplest fix is to remove and re-add Windows Hello facial recognition from Windows settings. This refreshes the camera and identity setup, and passkey sign-in usually starts working again right away.
Confusion can also happen on websites that still show multiple sign-in options at the same time. You might see both a password field and a passkey option and wonder which one to use. If a passkey option is available, using it is usually the simplest choice. If it doesn’t work for any reason, signing in with your password is still a valid fallback.
My Honest Take and When Passkeys Make Sense
From my experience, passkeys make the most sense for accounts you sign into regularly. They’re especially useful when Windows Hello is already set up and working well, because the sign-in process becomes quick and predictable.
What matters most is understanding how passkeys actually work – that they’re device-bound, managed through Windows settings, and rely on Windows Hello for confirmation. Once that part is clear, deciding where to use passkeys becomes much easier, and there’s no pressure to enable them everywhere at once.
I didn’t plan to start using passkeys. I tried one when it was suggested, saw that it worked smoothly, and left it enabled because it did what it was supposed to do. That feels like a reasonable place to start.