When something goes wrong in Windows 11, it usually happens at the worst possible time. I’ve seen this countless times working in IT support – a system suddenly slows down, Wi-Fi stops connecting, or an app refuses to open right when you need it most. The first reaction is often panic, but in reality, most Windows issues are caused by very small, fixable problems.
One thing that actually fixes more issues than most people expect is restarting the computer. A restart clears temporary system memory, stops stuck background services, reloads drivers and forces Windows to start fresh. This alone can resolve many common problems, especially after long uptime, updates, or heavy usage. Because of how effective it is, restarting should always be your first action before trying anything more advanced.
The second important thing to think about is what changed before the problem started. Issues often appear shortly after a Windows update, a new app or driver installation, connecting new hardware, or changing system settings. Keeping that timing in mind can save a lot of troubleshooting time and help you focus on the real cause instead of guessing.
In this guide, I’ll walk through common Windows 11 problems using a practical, beginner-friendly approach. Each section explains why the issue happens and then walks through clear steps, starting with the simplest fixes and moving toward more involved ones only when necessary.
1. Windows 11 Running Slow
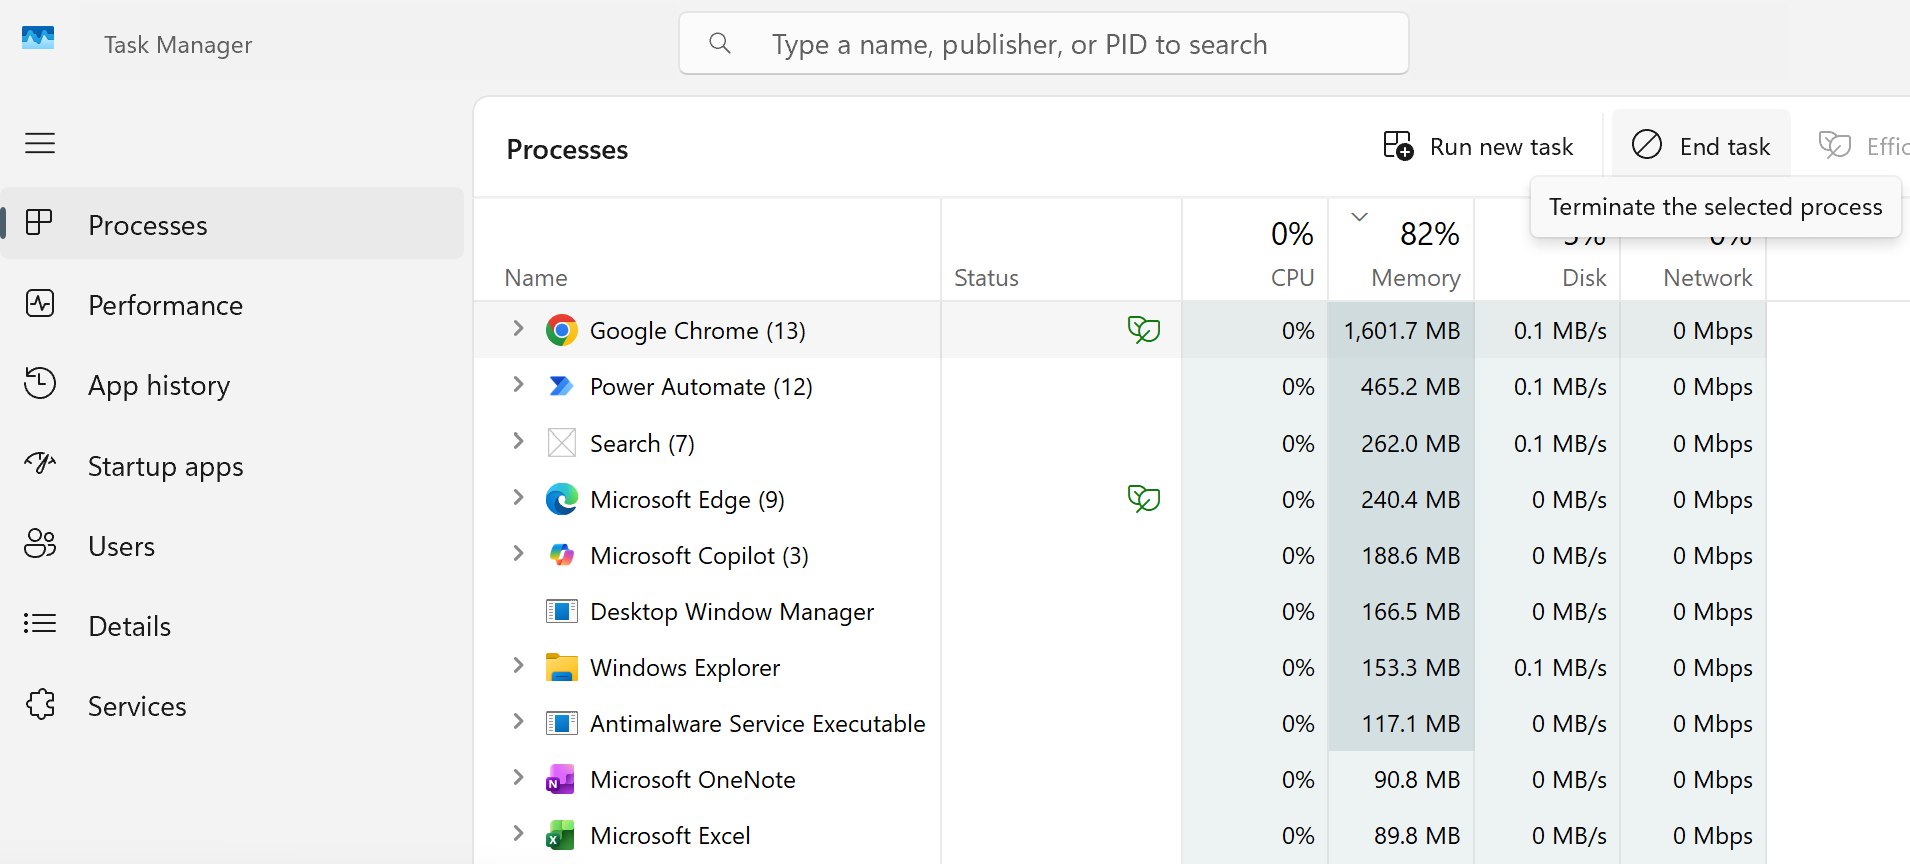
When Windows 11 feels slow, the cause is usually resource usage rather than hardware failure. Background apps, startup programs, and pending system tasks can quietly consume CPU, memory, or disk usage and make the system feel unresponsive. Start with these steps:
Check what’s using system resources:
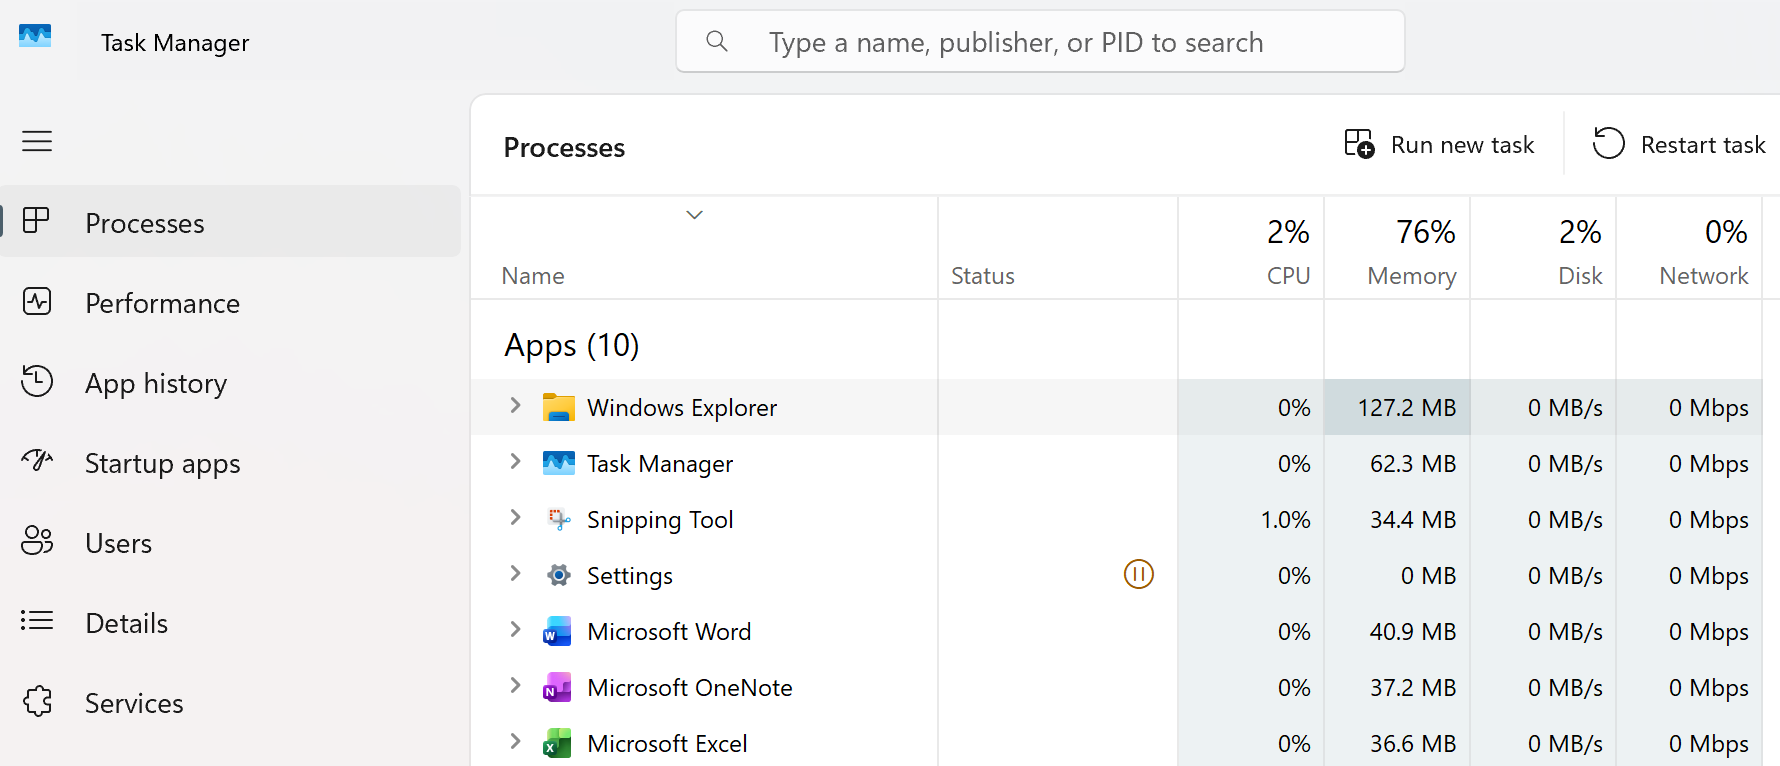
- Press Ctrl + Shift + Esc to open Task Manager
- Look at the Processes tab and sort by CPU, Memory, or Disk
- If a specific app is consistently at the top and you don’t need it – End the task and monitor the performance.
Review startup apps:
- In Task Manager, open the Startup apps tab
- Disable apps you don’t need starting with Windows
- This is one of the most effective long-term performance fixes.
I cover this in detail in my Task Manager guide, as it’s one of the most useful Windows tools.
Check available storage:
Go to Settings > System > Storage and make sure your main drive isn’t nearly full. Windows needs free space to work properly, and low storage can slow down updates and everyday tasks. Removing Temporary files here is a safe way to remove unnecessary data.
Confirm power mode:
Under Settings > System > Power & battery, set Power mode to Best performance if you’re on a desktop or a laptop that’s plugged in. Power-saving modes can limit performance and make the system feel slower than it actually is.
Note: If the slowdown occurs when using a specific app, consider repairing or reinstalling it. See Section 5 for more details.
2. Wi-Fi or Network Connectivity Issues
Network problems are often caused by saved network settings, driver issues, or temporary router conflicts. Even when Wi-Fi shows as “connected,” the connection may not actually be working correctly. Try the following:
Check network status:
- Go to Settings > Network & Internet
- Confirm Windows shows “Connected” and not “No internet”.
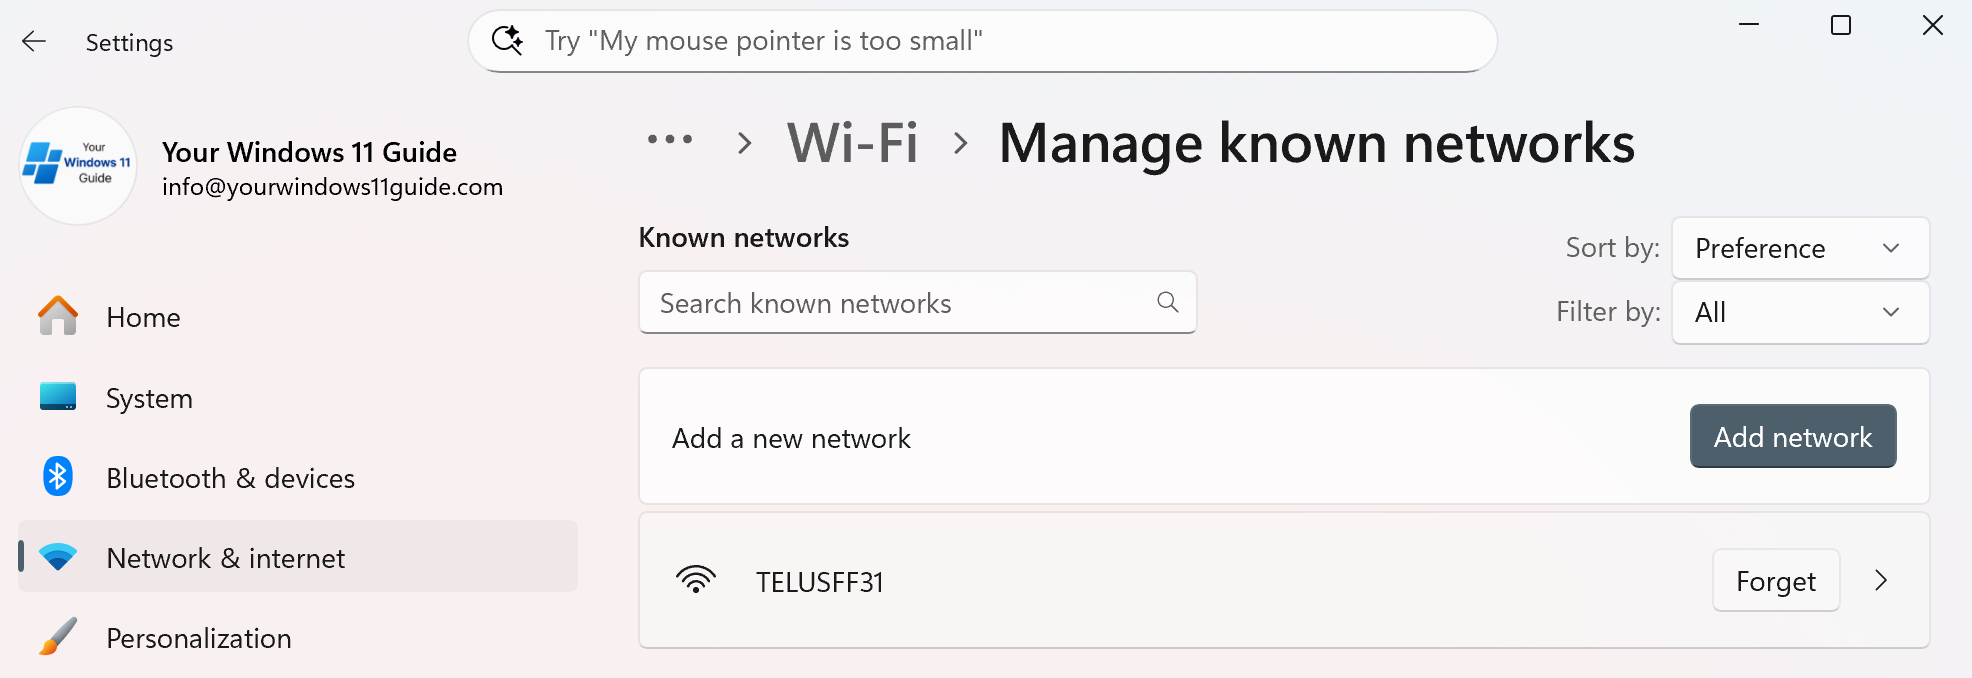
Forget and reconnect to Wi-Fi:
- Go to Settings > Network & Internet > Wi-Fi > Manage known networks
- Select your network and click Forget
- Reconnect and re-enter the password.
Run the built-in network troubleshooter:
- Go to Settings > Network & Internet > Advanced network settings
- Click Network troubleshooter
- Let Windows attempt automatic fixes.
Check network adapter status:
- Open Device Manager
- Expand Network adapters
- If you see a warning icon, right-click the adapter and choose Update driver.
Note: If you’re using a wired connection, ensure the cable is securely plugged in, try a different port on your router, or replace the cable.
3. Windows 11 Update Stuck or Failing
Update issues usually happen when Windows can’t finish background tasks or doesn’t have enough space to complete the update properly. This looks serious but is usually recoverable. Steps to follow:
Restart your PC and Retry updates:
- Restart your PC, return to Windows Update and try again.
Check update error status:
- Go to Settings > Windows Update
- Look for error messages or retry options.
Verify available disk space:
- Updates often fail if there isn’t enough free space
- Aim for at least 15–20 GB free on the system drive.
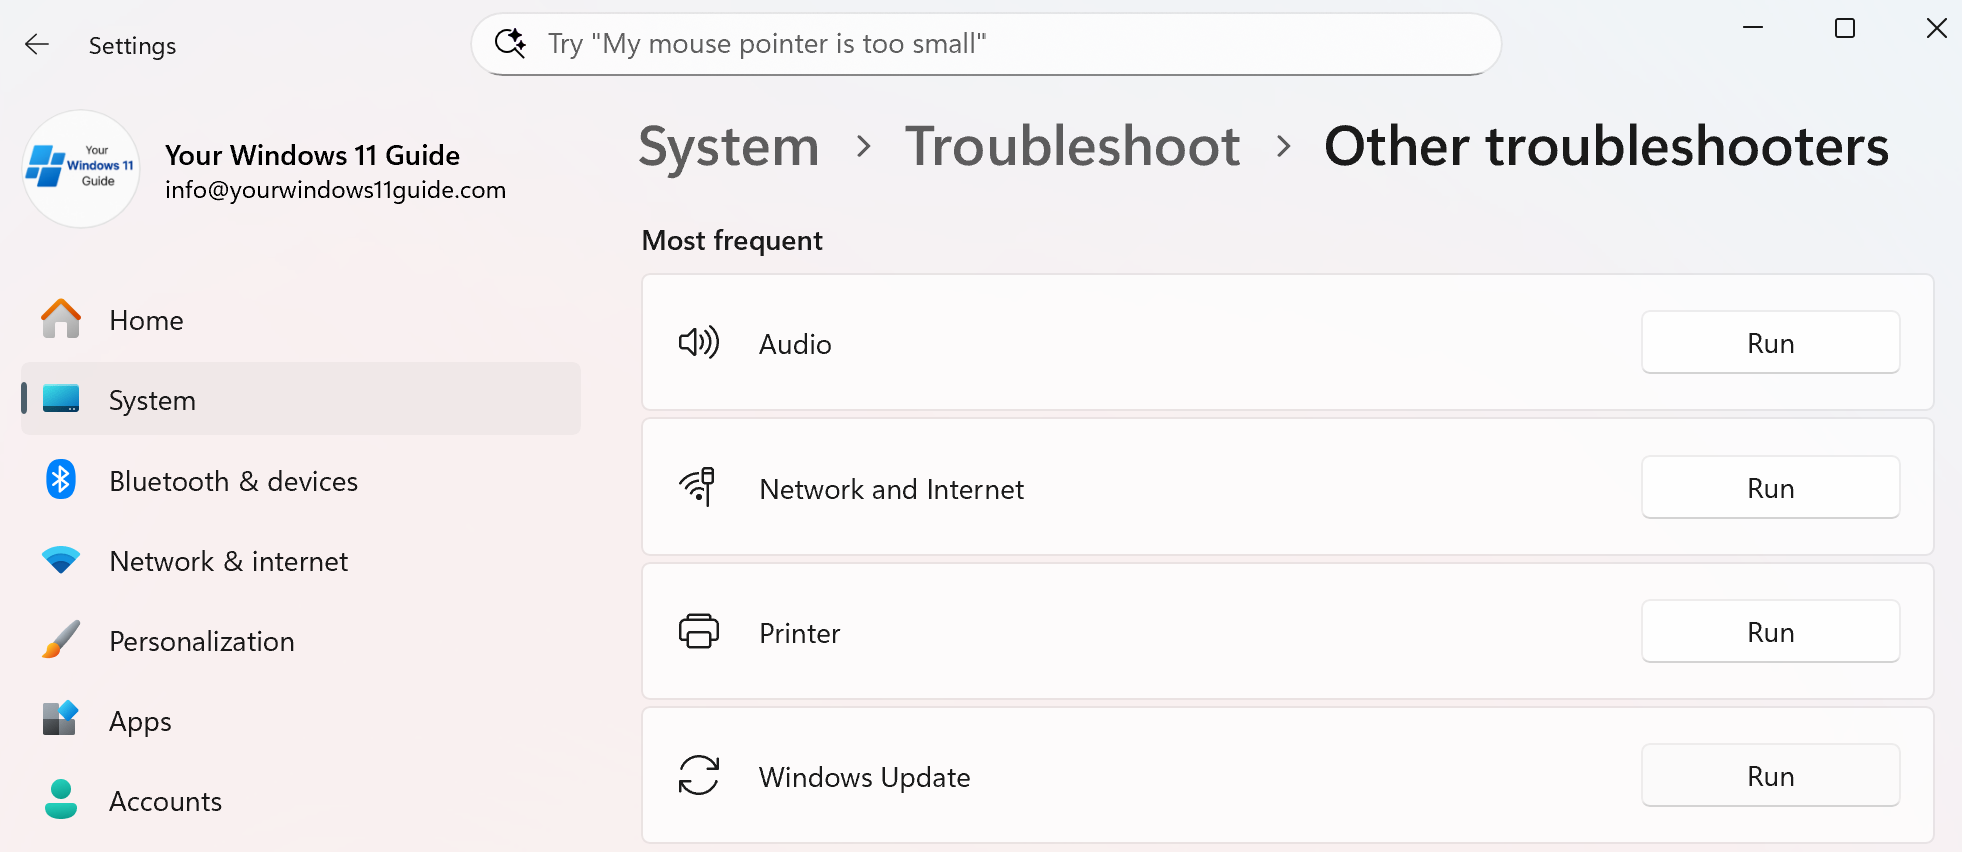
Run the Windows Update troubleshooter:
- Go to Settings > System > Troubleshoot > Other troubleshooters
- Run Windows Update.
4. Bluetooth Not Working in Windows 11
Bluetooth problems usually fall into one of three categories: Bluetooth is enabled but not working properly, the Bluetooth option is missing entirely, or a specific device refuses to connect. The steps below help you identify which situation you’re dealing with and fix it without jumping straight to advanced troubleshooting.
Bluetooth Is On But Not Working Properly
If Bluetooth is enabled but devices won’t connect or suddenly stop working, the issue is often a temporary service or driver glitch. Start here:
- Go to Settings > Bluetooth & devices
- Turn Bluetooth off, wait a few seconds, then turn it back on
- Check if your device reconnects automatically.
If Bluetooth turns on but still doesn’t work, continue to the next section.
Bluetooth Toggle Is Missing Completely
If you don’t see a Bluetooth toggle at all, Windows is usually not detecting the Bluetooth adapter correctly. This is commonly caused by a driver issue. Try the following:
- Right-click Start and open Device Manager
- Expand Bluetooth
- If Bluetooth is missing entirely, check Network adapters or Unknown devices
- Right-click the Bluetooth adapter and select Uninstall device
- Restart your PC.
In many cases, Windows will automatically reinstall the Bluetooth driver after the restart. If Bluetooth still doesn’t appear, install the latest driver manually from your PC or motherboard manufacturer’s website.
Bluetooth Device Won’t Pair or Keeps Disconnecting
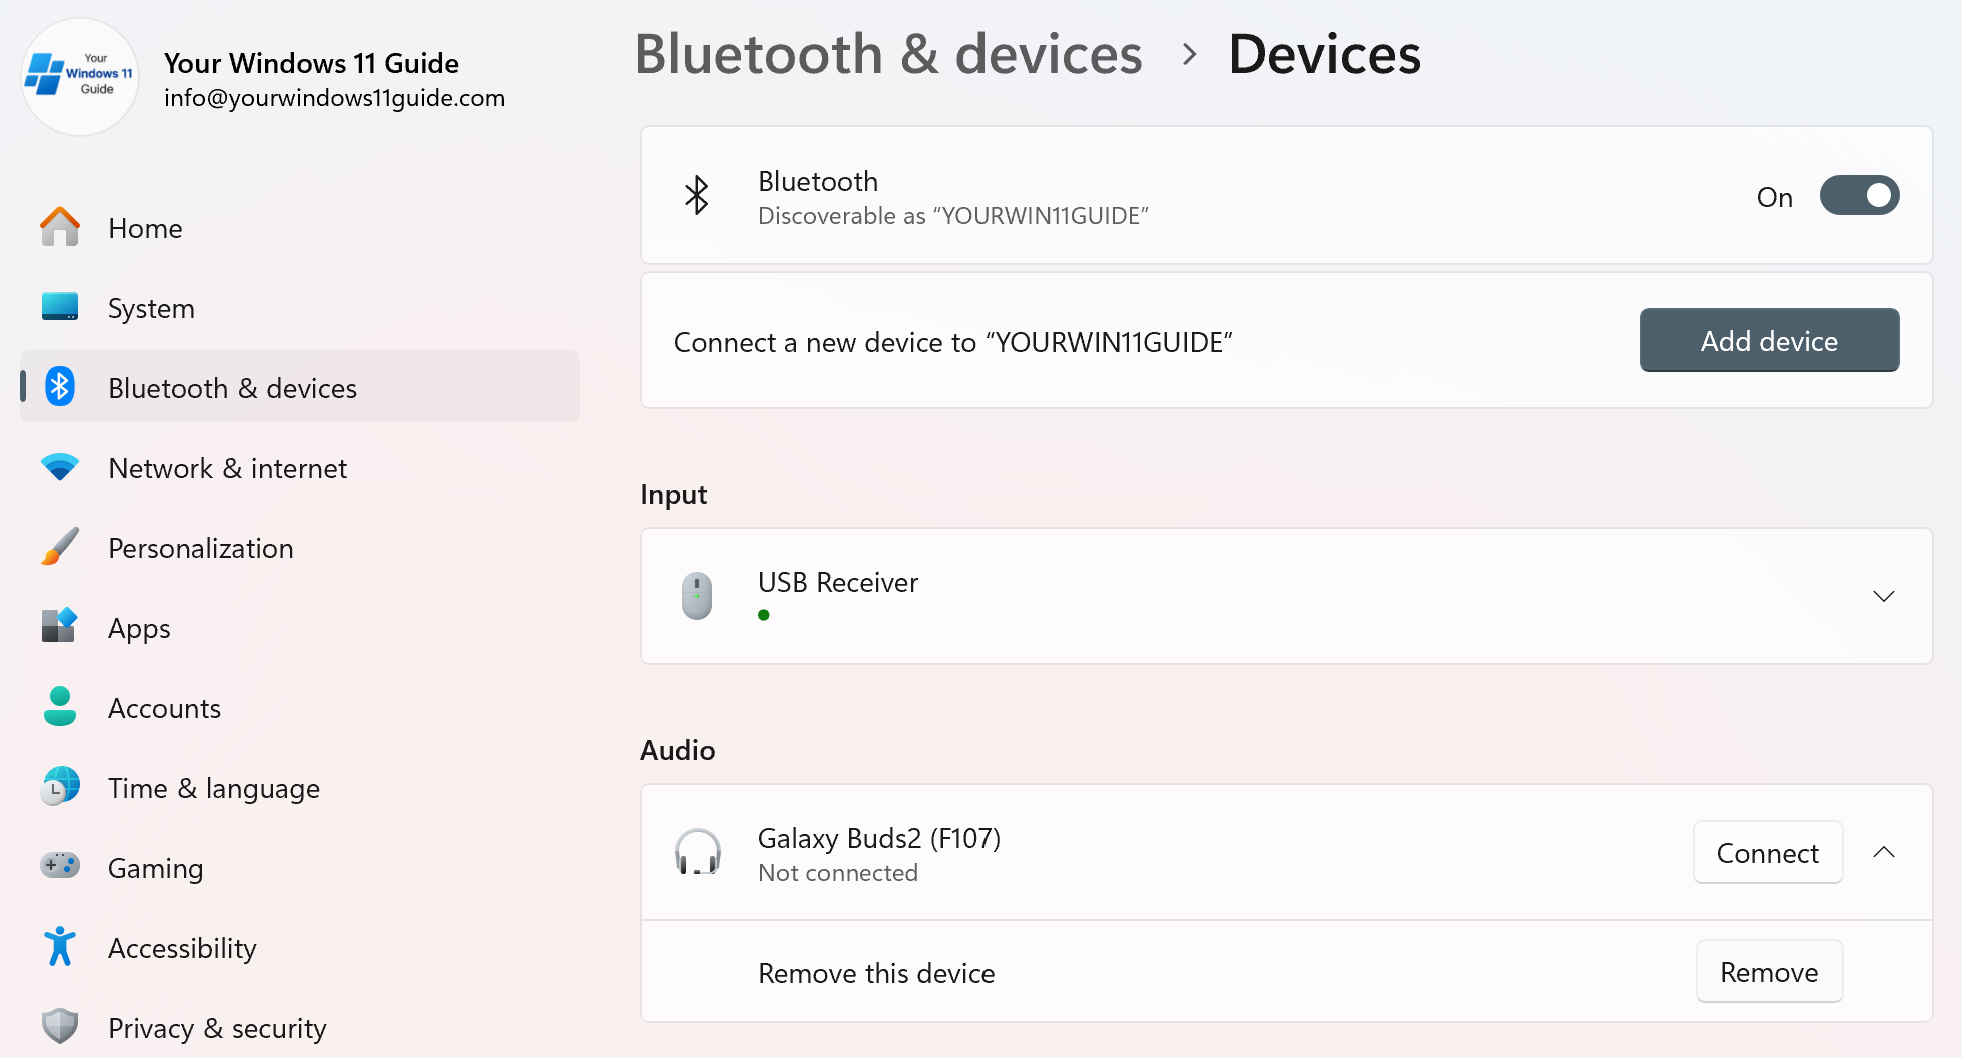
If Bluetooth itself is working but a specific device won’t connect, the pairing information may be corrupted. Start with Windows settings:
- Go to Settings > Bluetooth & devices
- Select the problematic device
- Click Remove device
- Put the device into pairing mode and connect it again.
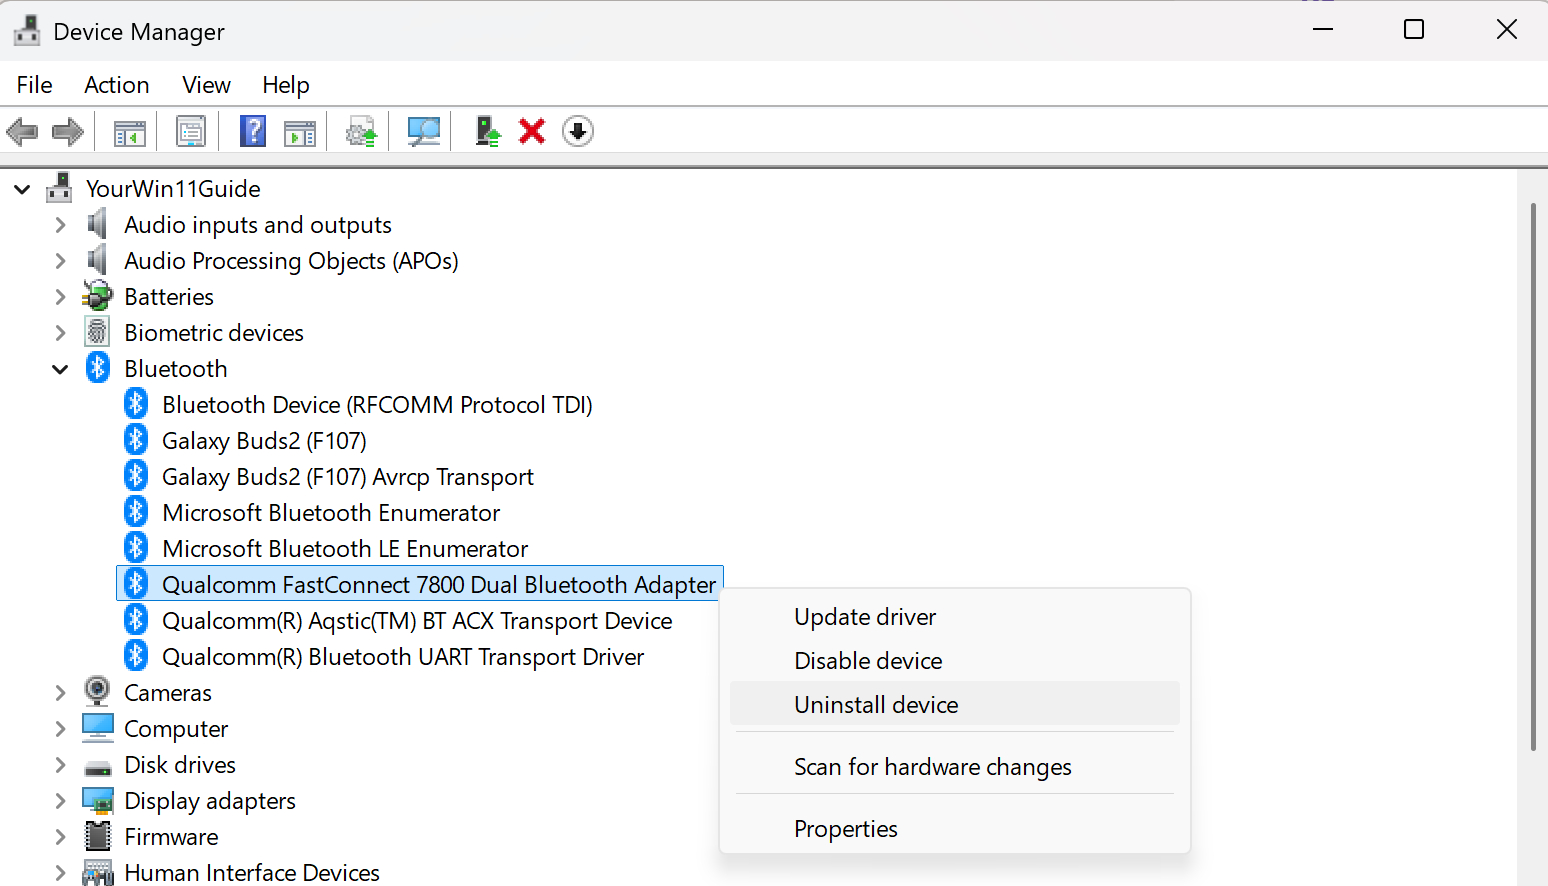
If that doesn’t help, remove the device at the driver level:
- Open Device Manager
- Expand Bluetooth
- Right-click the device (if listed) and select Uninstall device
- Restart your PC and pair the device again.
This fully resets the connection and often fixes stubborn pairing issues.
5. Windows 11 Apps Not Opening or Crashing
If Windows itself works fine but one specific app crashes or refuses to open, the issue is almost always related to that app’s data or permissions. Try this sequence:
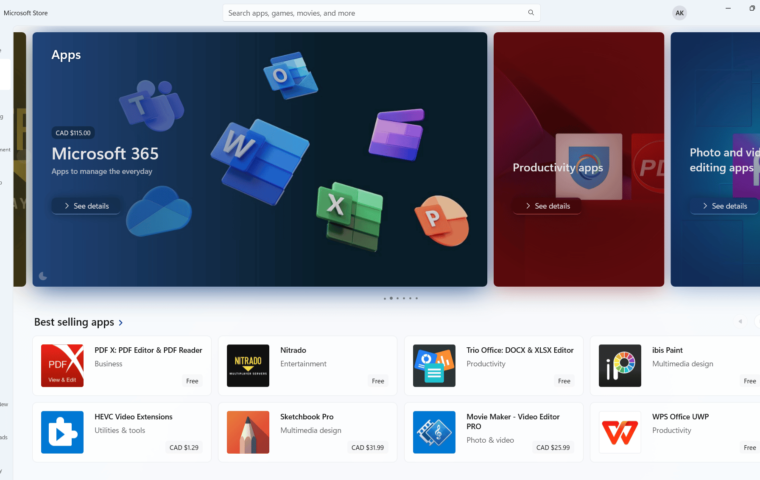
Check for app updates
- Open Microsoft Store
- Go to Library and install available updates
- Check for updates specifically for the app that’s having issues, then install it if available
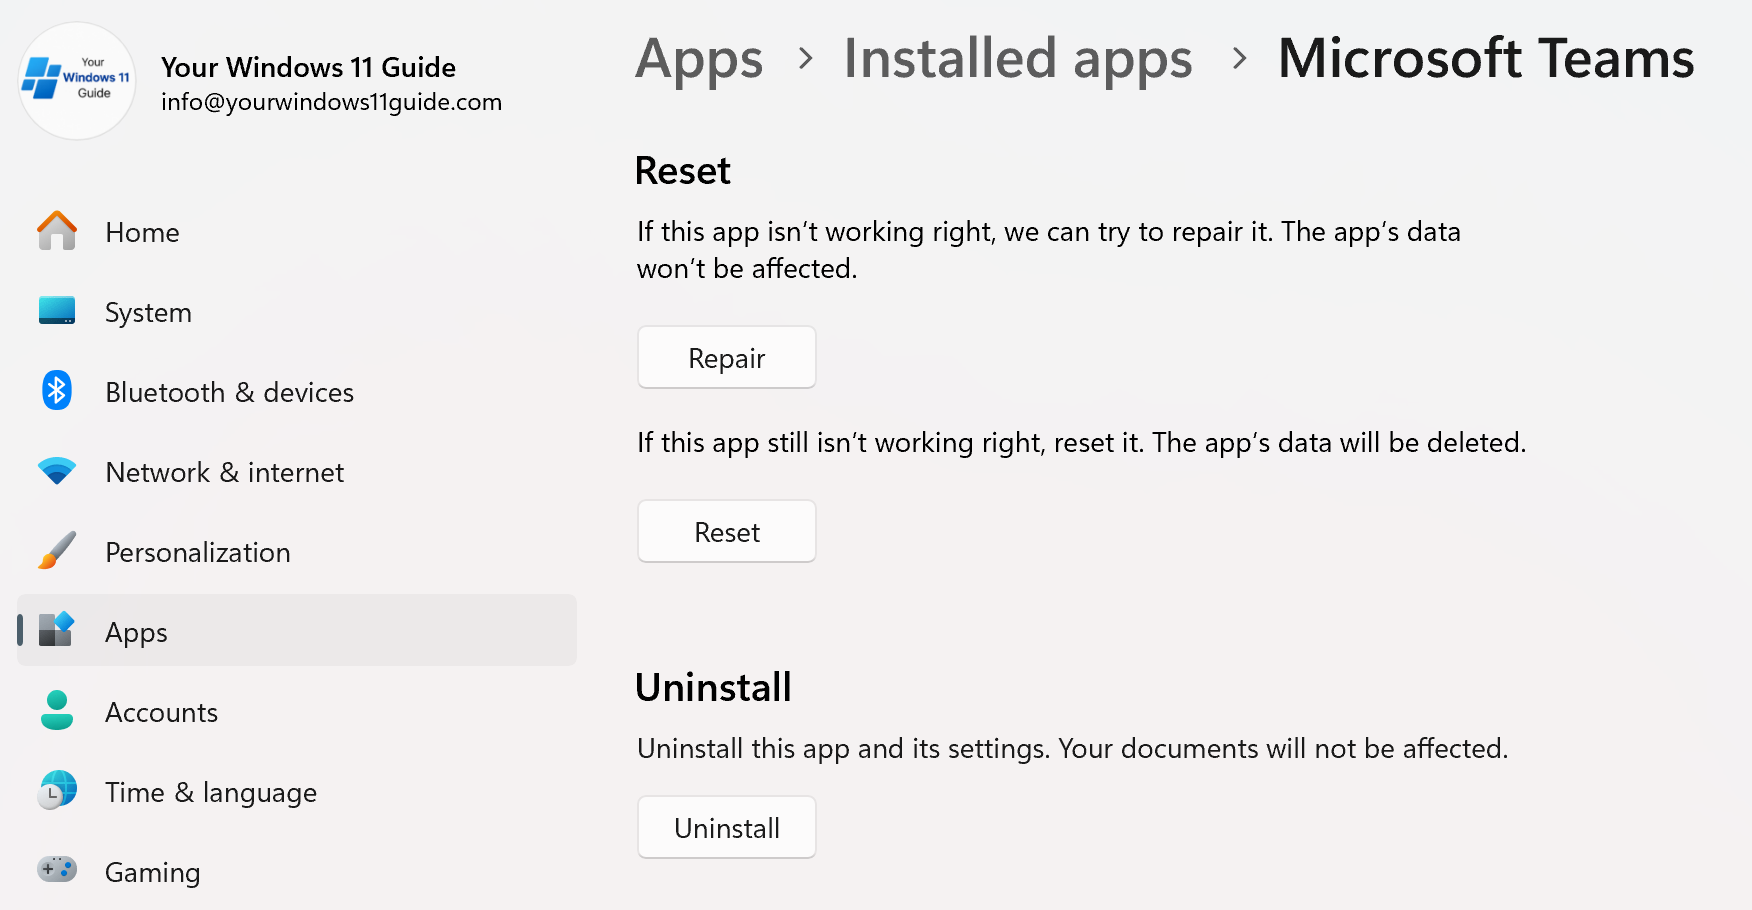
Repair or reset the app
- Go to Settings > Apps > Installed apps
- Select the app > Advanced options
- Try Repair first, then Reset if needed
Reinstall the app
- Go to Settings > Apps > Installed apps
- Uninstall the app
- Reinstall it from the Microsoft Store.
Note: If you need to uninstall an app, make sure you back up any necessary data first. You can save files locally or use the cloud storage. Check our OneDrive guide for more information about Microsoft OneDrive and cloud backups.
6. Audio Not Working in Windows 11
Audio issues in Windows 11 often happen after connecting new devices or external monitors, because Windows may silently change the default audio output. In many cases, sound is working, just not going to the expected device. Start with these steps:
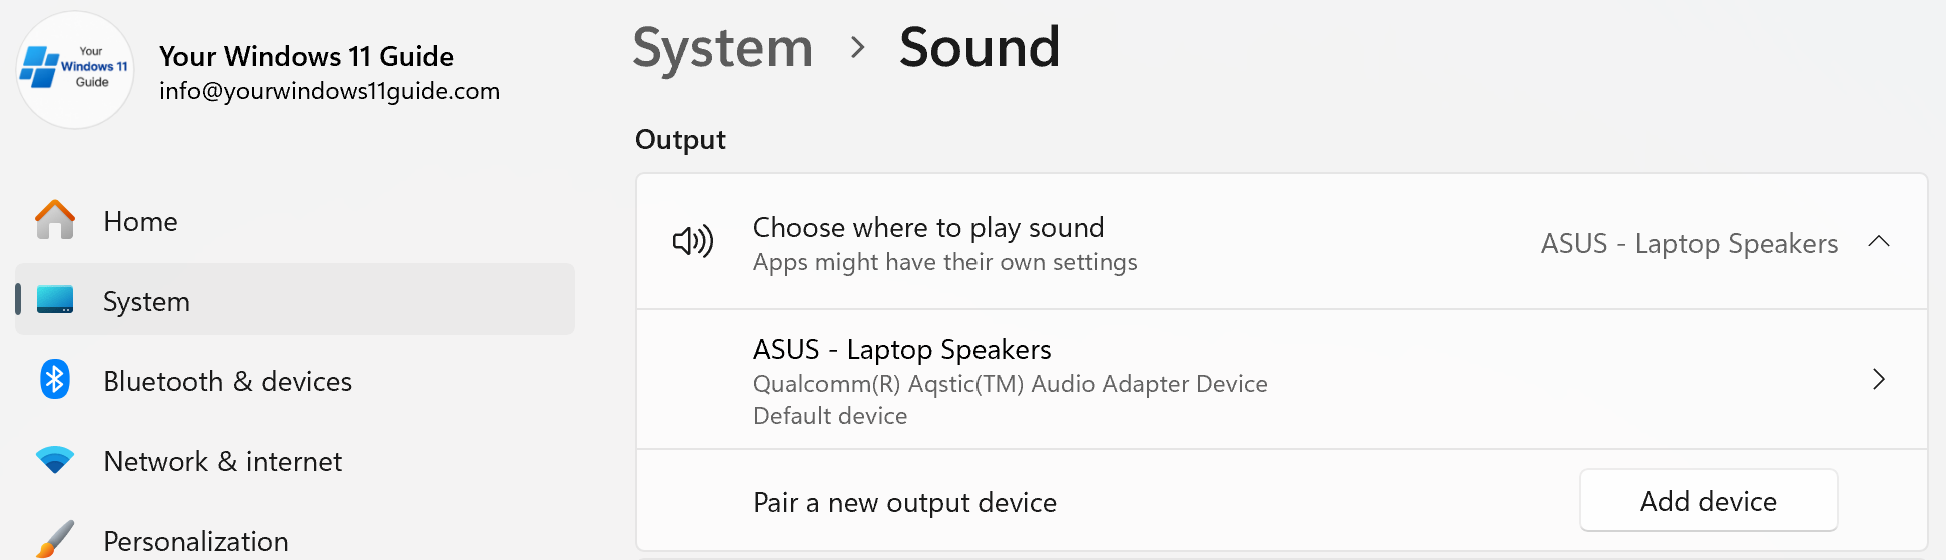
Check volume and output device
- Make sure your system volume isn’t muted
- Right-click the speaker icon in the taskbar and open Sound settings
- Under Output, confirm the correct playback device is selected.
Run the Audio troubleshooter
- Go to Settings > System > Troubleshoot > Other troubleshooters
- Run the Audio troubleshooter.
This can automatically fix common configuration and service issues.
Check or reinstall audio drivers
- Open Device Manager
- Expand Sound, video and game controllers
- Right-click your audio device and choose Update driver.
If the issue persists:
- Right-click the device and select Uninstall device
- Restart your PC
- Windows will usually reinstall the driver automatically.
Pro tip: External monitors often take over audio
If you’ve connected an external monitor, Windows may switch audio output to the monitor.
- Go to Settings > System > Sound
- Under Output devices, click your monitor (often listed as HDMI, Display Audio, or the monitor brand)
- Click Don’t allow to disable that output device.
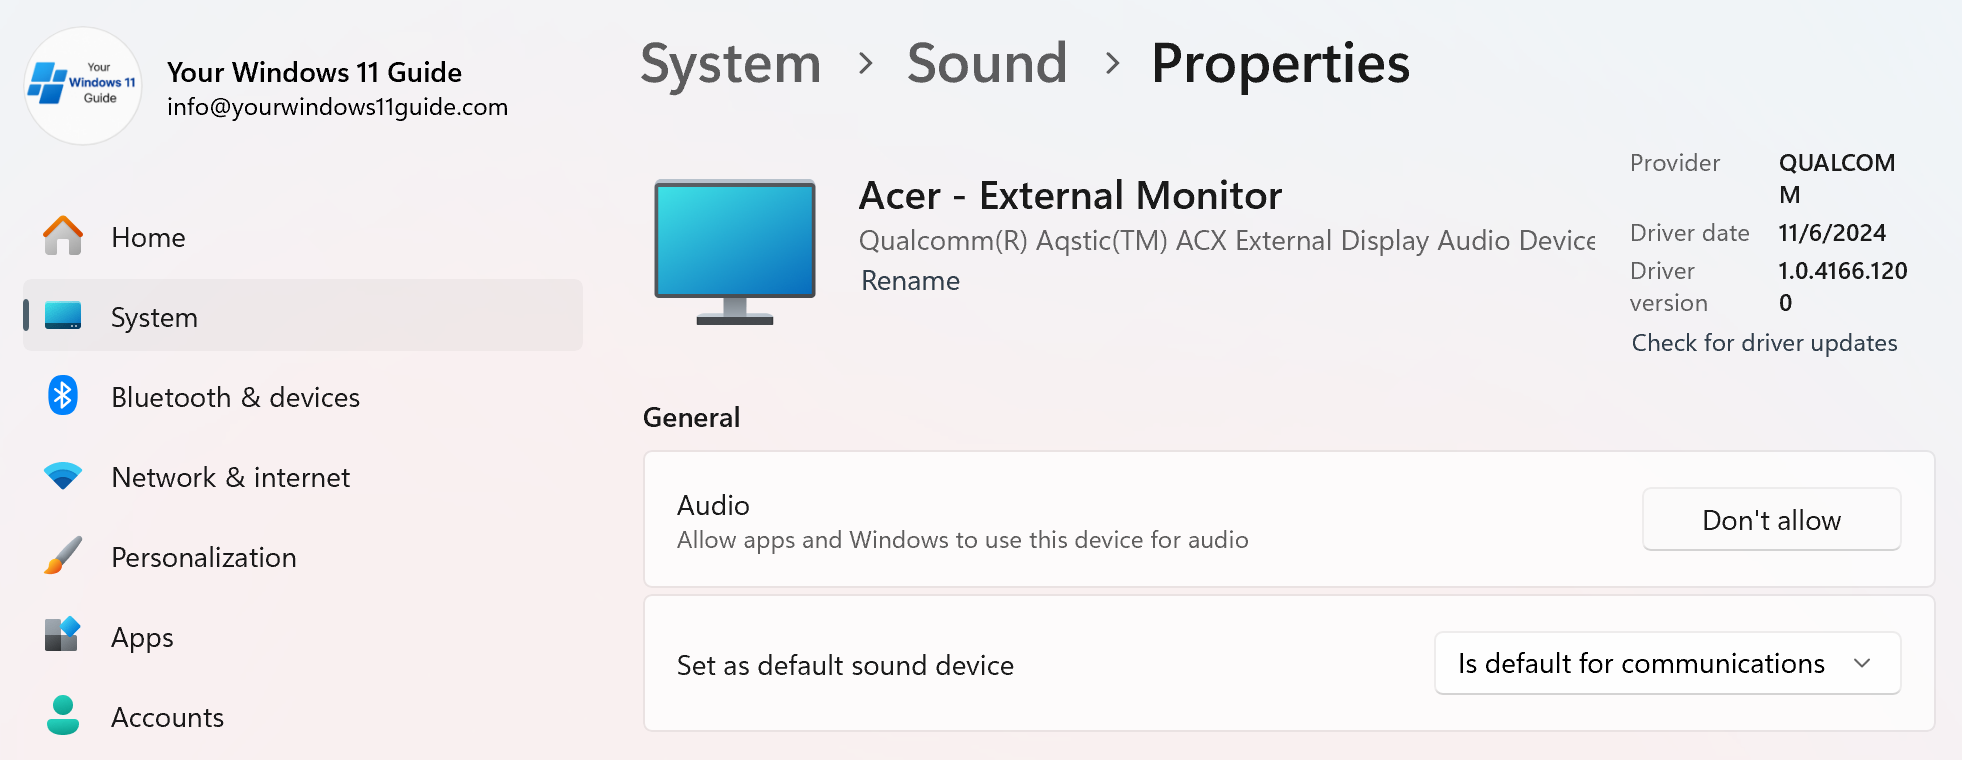
This is one of the most common reasons sound “disappears” after connecting a second screen.
7. Start Menu or Taskbar Not Responding
When the Start menu or taskbar stops responding in Windows 11, the issue is usually tied to Windows Explorer or system components that didn’t load correctly after an update or system change. The system itself is often still working, you just can’t access it the usual way. Try the following steps in order.
Restart Windows Explorer
- Press Ctrl + Shift + Esc to open Task Manager
- Find Windows Explorer
- Right-click it and select Restart.
Run System File Checker without using Start or Taskbar
- Press Ctrl + Shift + Esc to open Task Manager
- Click Run new task
- Type cmd
- Check “Create this task with administrative privileges”
- Click OK
- In Command Prompt, run: sfc /scannow
- Wait for the scan to complete and follow any on-screen instructions.
Check Windows Updates without Start menu
- Press Win + I to open Settings
- Go to Windows Update
- Install any pending updates
If Win + I doesn’t work:
- Open Task Manager
- Click Run new task
- Type ms-settings: and press Enter
Installing updates helps prevent the issue from returning if it was caused by a Windows bug.
8. Windows 11 Freezing or Crashing (Blue Screen of Death)
Freezing, sudden restarts, or a blue screen usually point to one of three things: a driver issue, a recent system or hardware change, or problems with system files or available storage. While a blue screen looks serious, it’s often triggered by something simple, such as a faulty driver update, a newly connected device, or Windows running out of room to operate properly.
When a blue screen appears, Windows usually shows a stop code (error code). That code matters because it helps identify the type of issue instead of guessing.
If it happens once and Windows restarts normally
Start with these steps:
- Write down the stop code or take a photo: Look for text like SYSTEM_THREAD_EXCEPTION_NOT_HANDLED or DRIVER_IRQL_NOT_LESS_OR_EQUAL. Even a quick photo helps if you need to look it up later.
- Think about what changed recently: Did Windows install updates, did you add new hardware, or install a new app or driver? If the crash happened shortly after a change, that’s usually the cause.
- Undo the most recent change: Disconnect newly added hardware or uninstall the most recent driver or app, then restart and check if the crash returns.
- Check storage and drivers: Go to Settings > System > Storage and make sure your system drive isn’t critically full (aim for at least 10–15% free space). Open Device Manager and look for devices with yellow warning icons, then update or roll back drivers if needed.
If the blue screen doesn’t come back, the issue is usually resolved.
If Windows keeps crashing or won’t let you log in
If crashes repeat or Windows won’t load properly, boot into Safe Mode to undo recent changes. Safe Mode loads Windows with minimal drivers and is often enough to stop repeated blue screens caused by driver or software issues. From there, remove recently installed apps, drivers, or external devices.
Final system checks
Once Windows is stable again, run System File Checker by opening Command Prompt (Admin) and running: sfc /scannow. If storage issues were involved, keep some free space available to avoid future crashes.
Important note about restarts
If a blue screen happens once and never returns after a restart, it’s often just a temporary glitch. Repeated crashes are the sign that something needs attention, which is when the steps above become important.
Final Tips for Troubleshooting
Most Windows 11 problems are temporary and fixable. Restarting your PC regularly, keeping Windows updated, and managing startup apps will prevent many issues before they happen. This is something I see constantly in real support environments.
If performance problems keep coming back, optimizing startup behavior can make a big difference, which I cover in my Speed Up Windows 11 Startup guide. And if sign-in or authentication issues are involved, my post on Windows Hello explains how Windows handles secure logins and how to fix common problems.
Taking a calm, structured approach almost always leads to a solution and saves a lot of unnecessary stress.